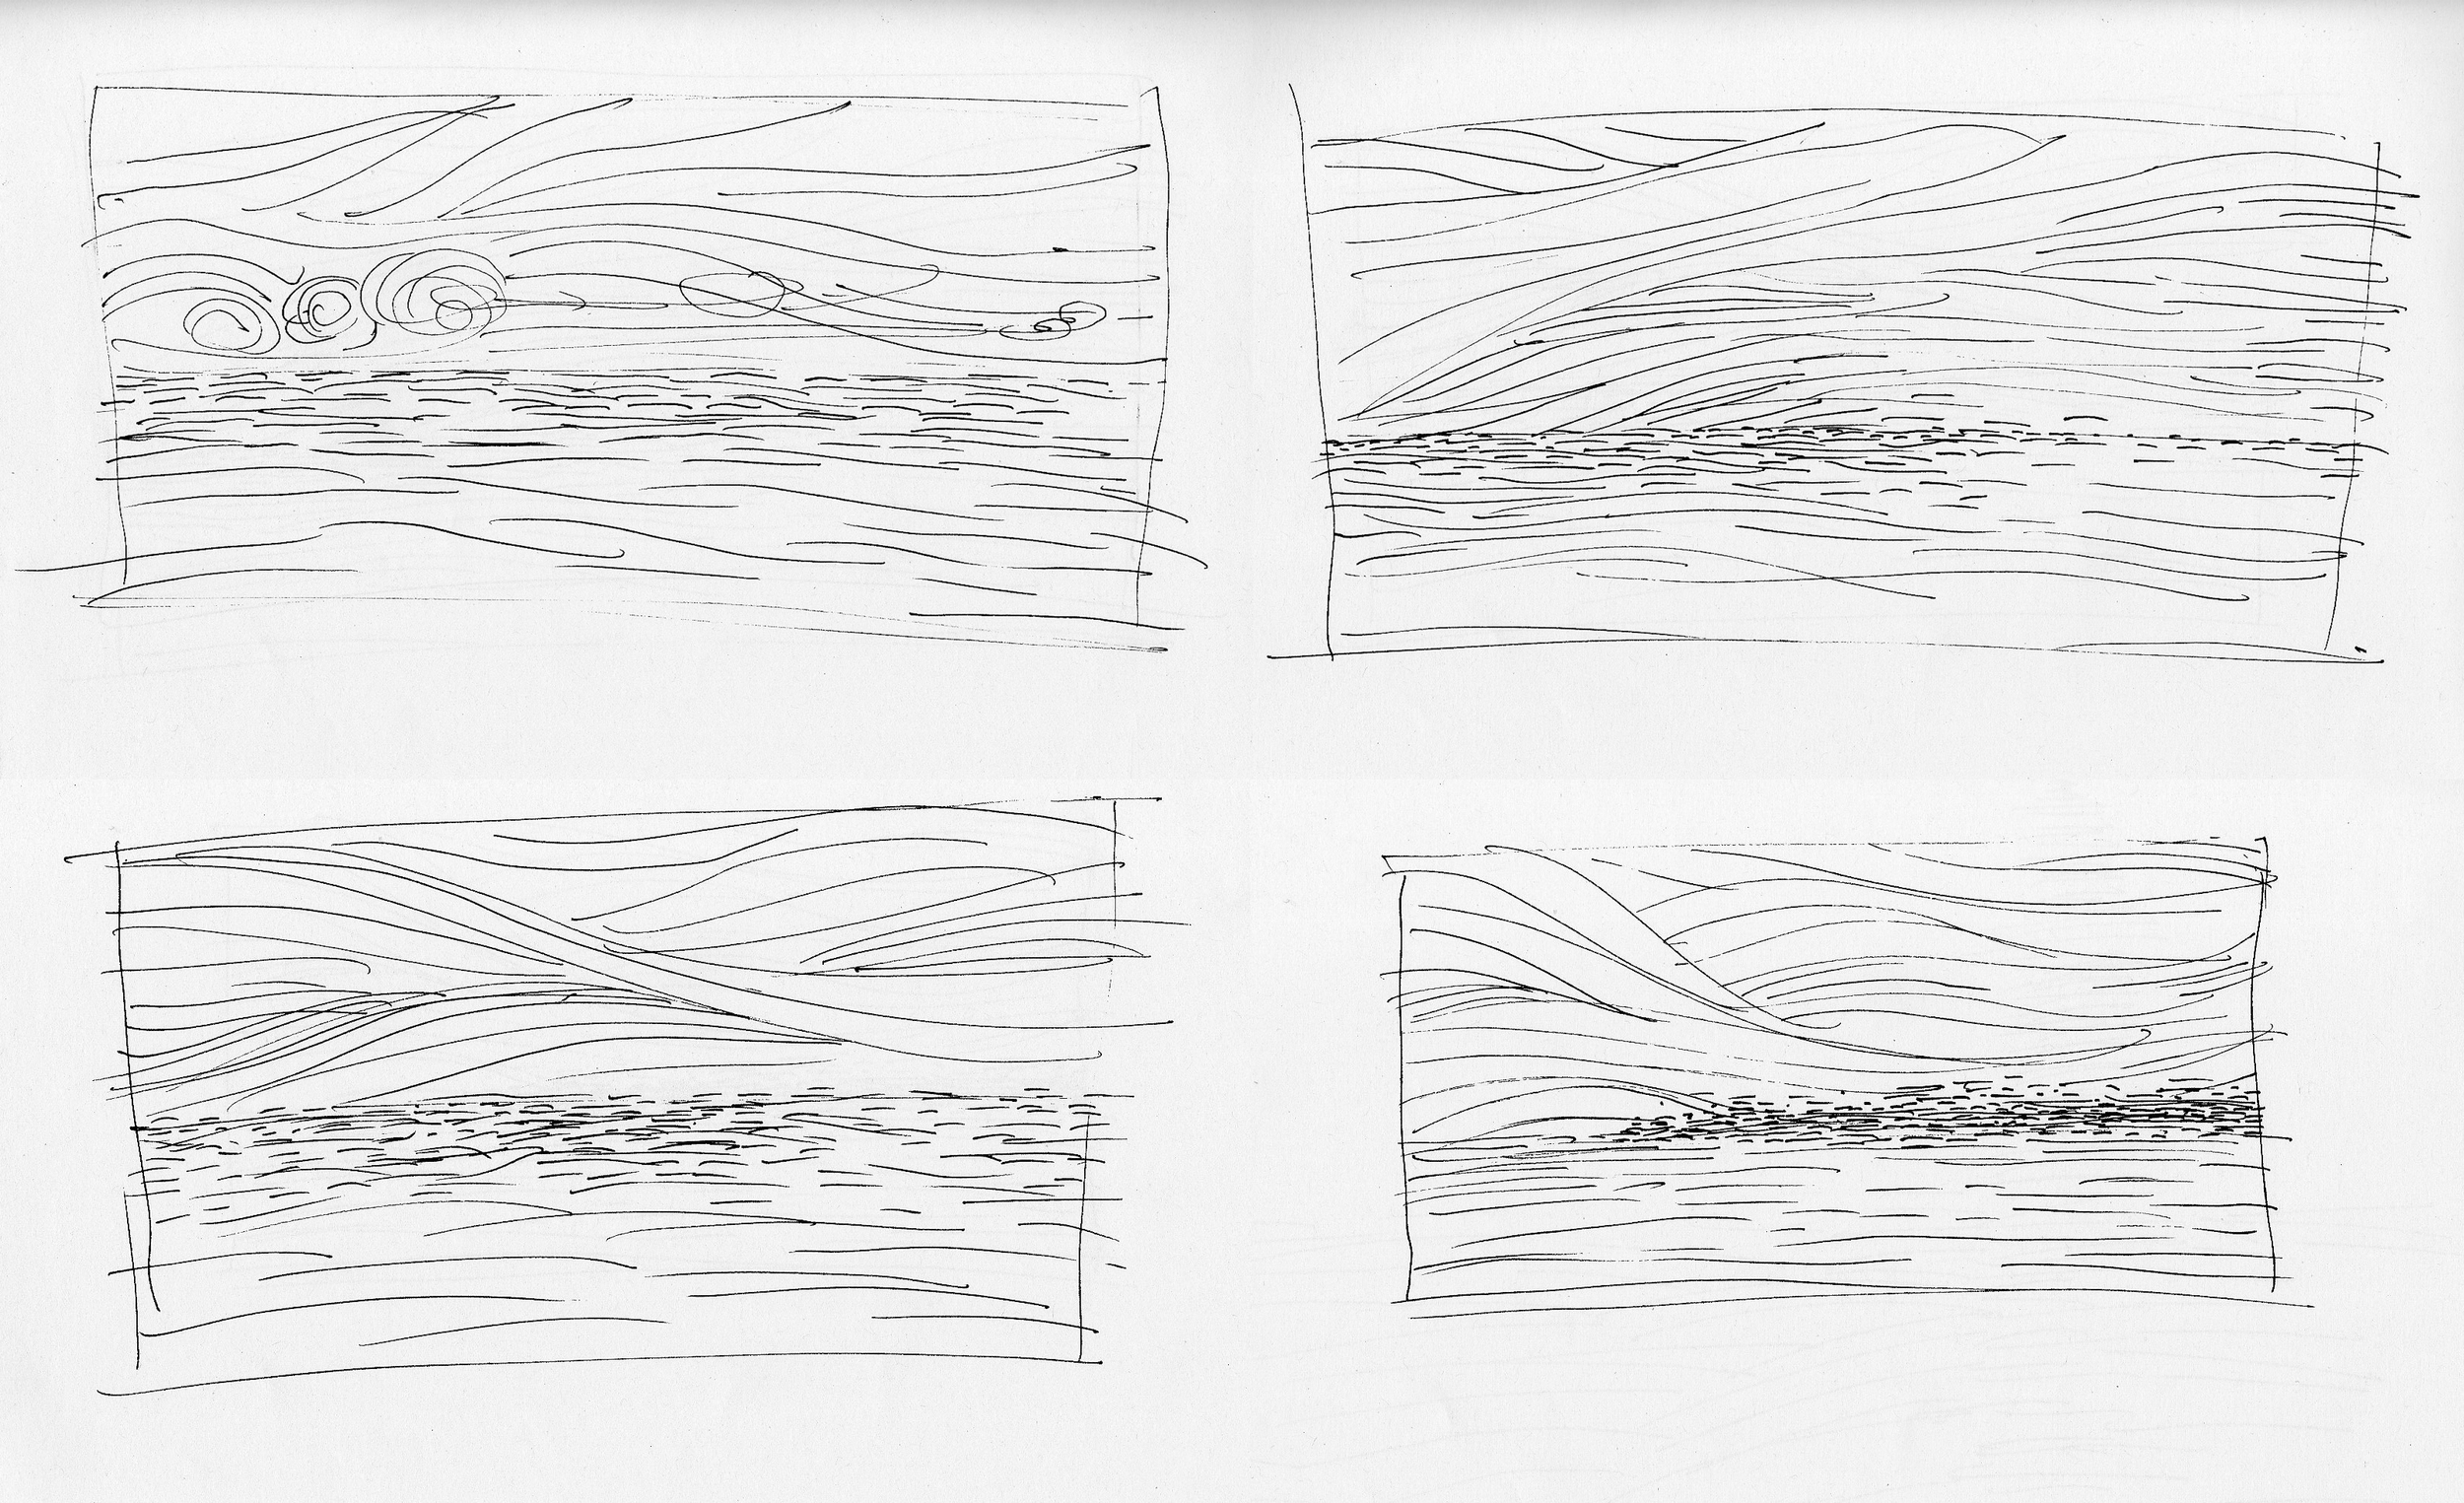
Early pen sketches.
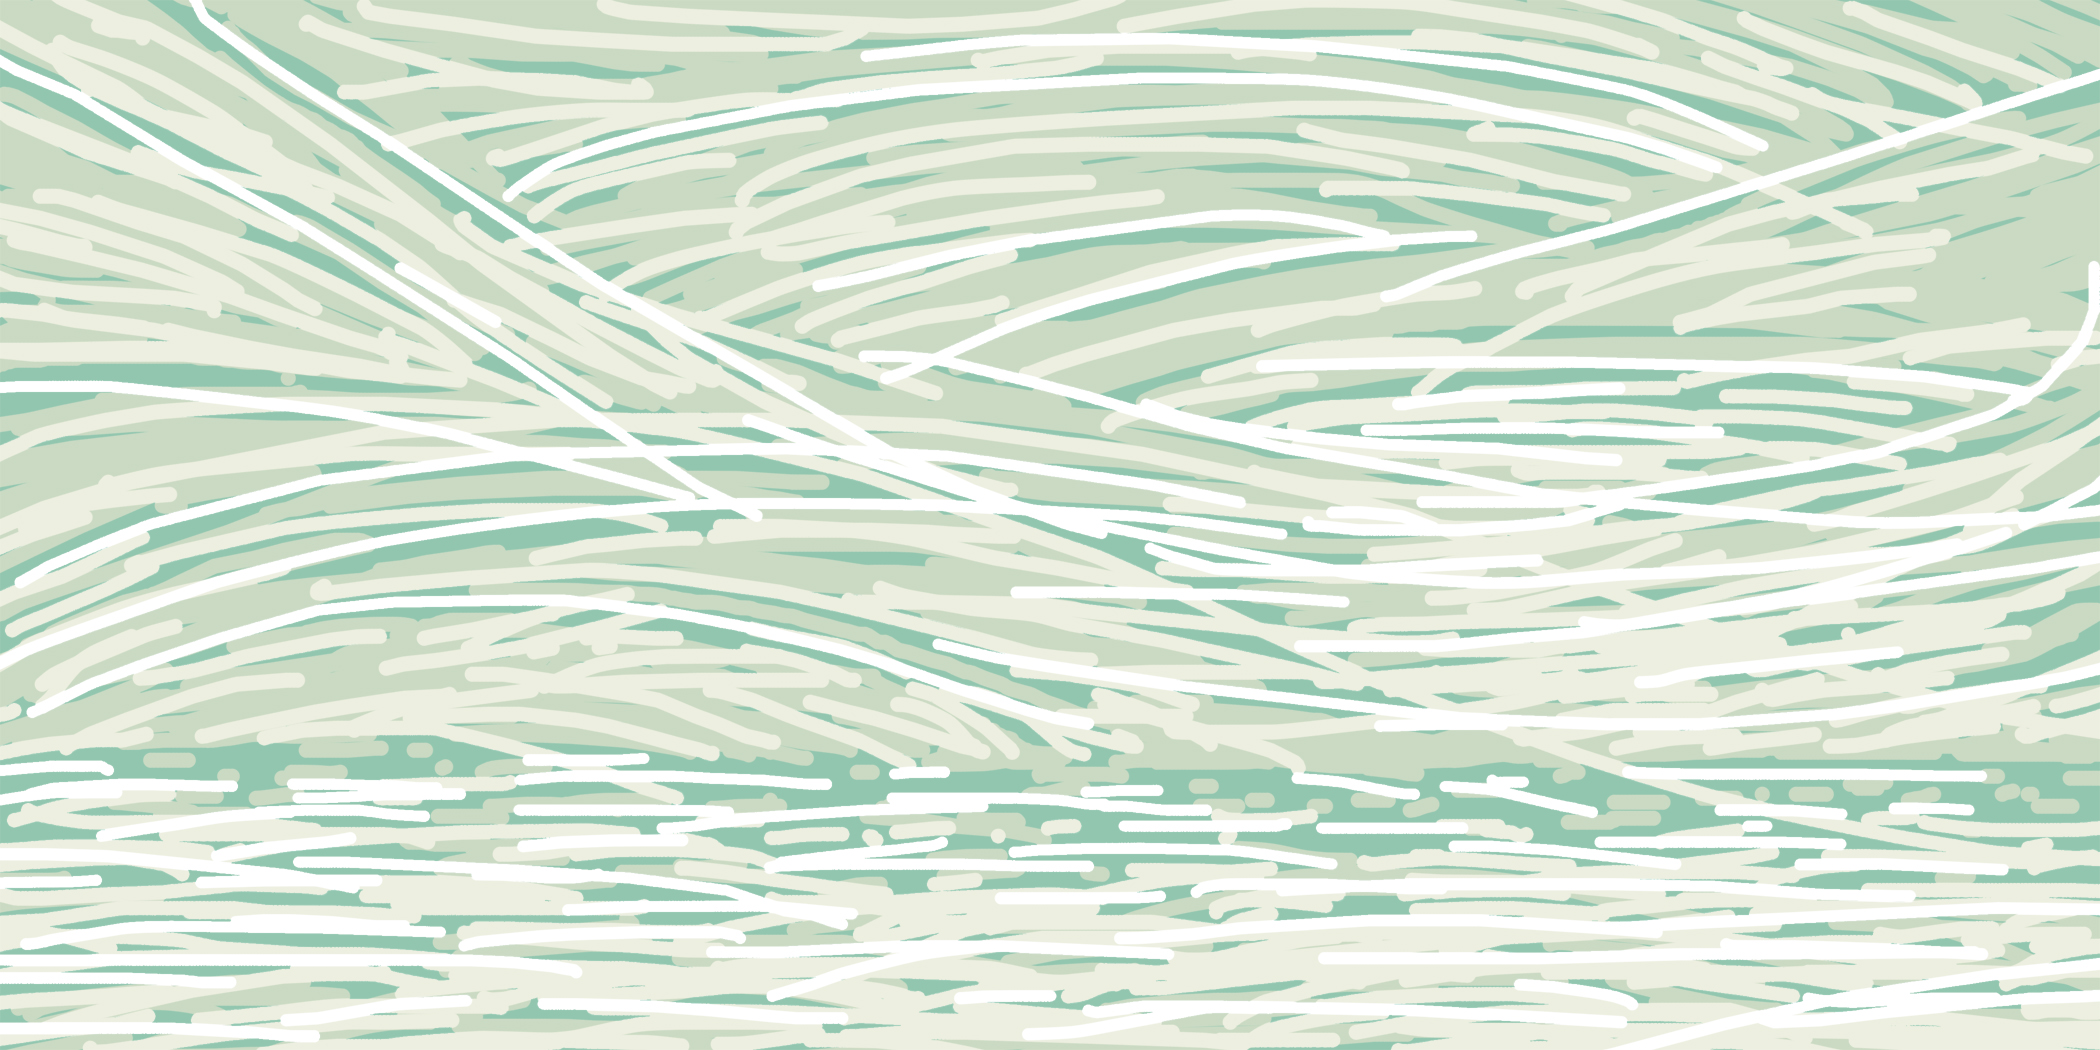
Color digital sketch.
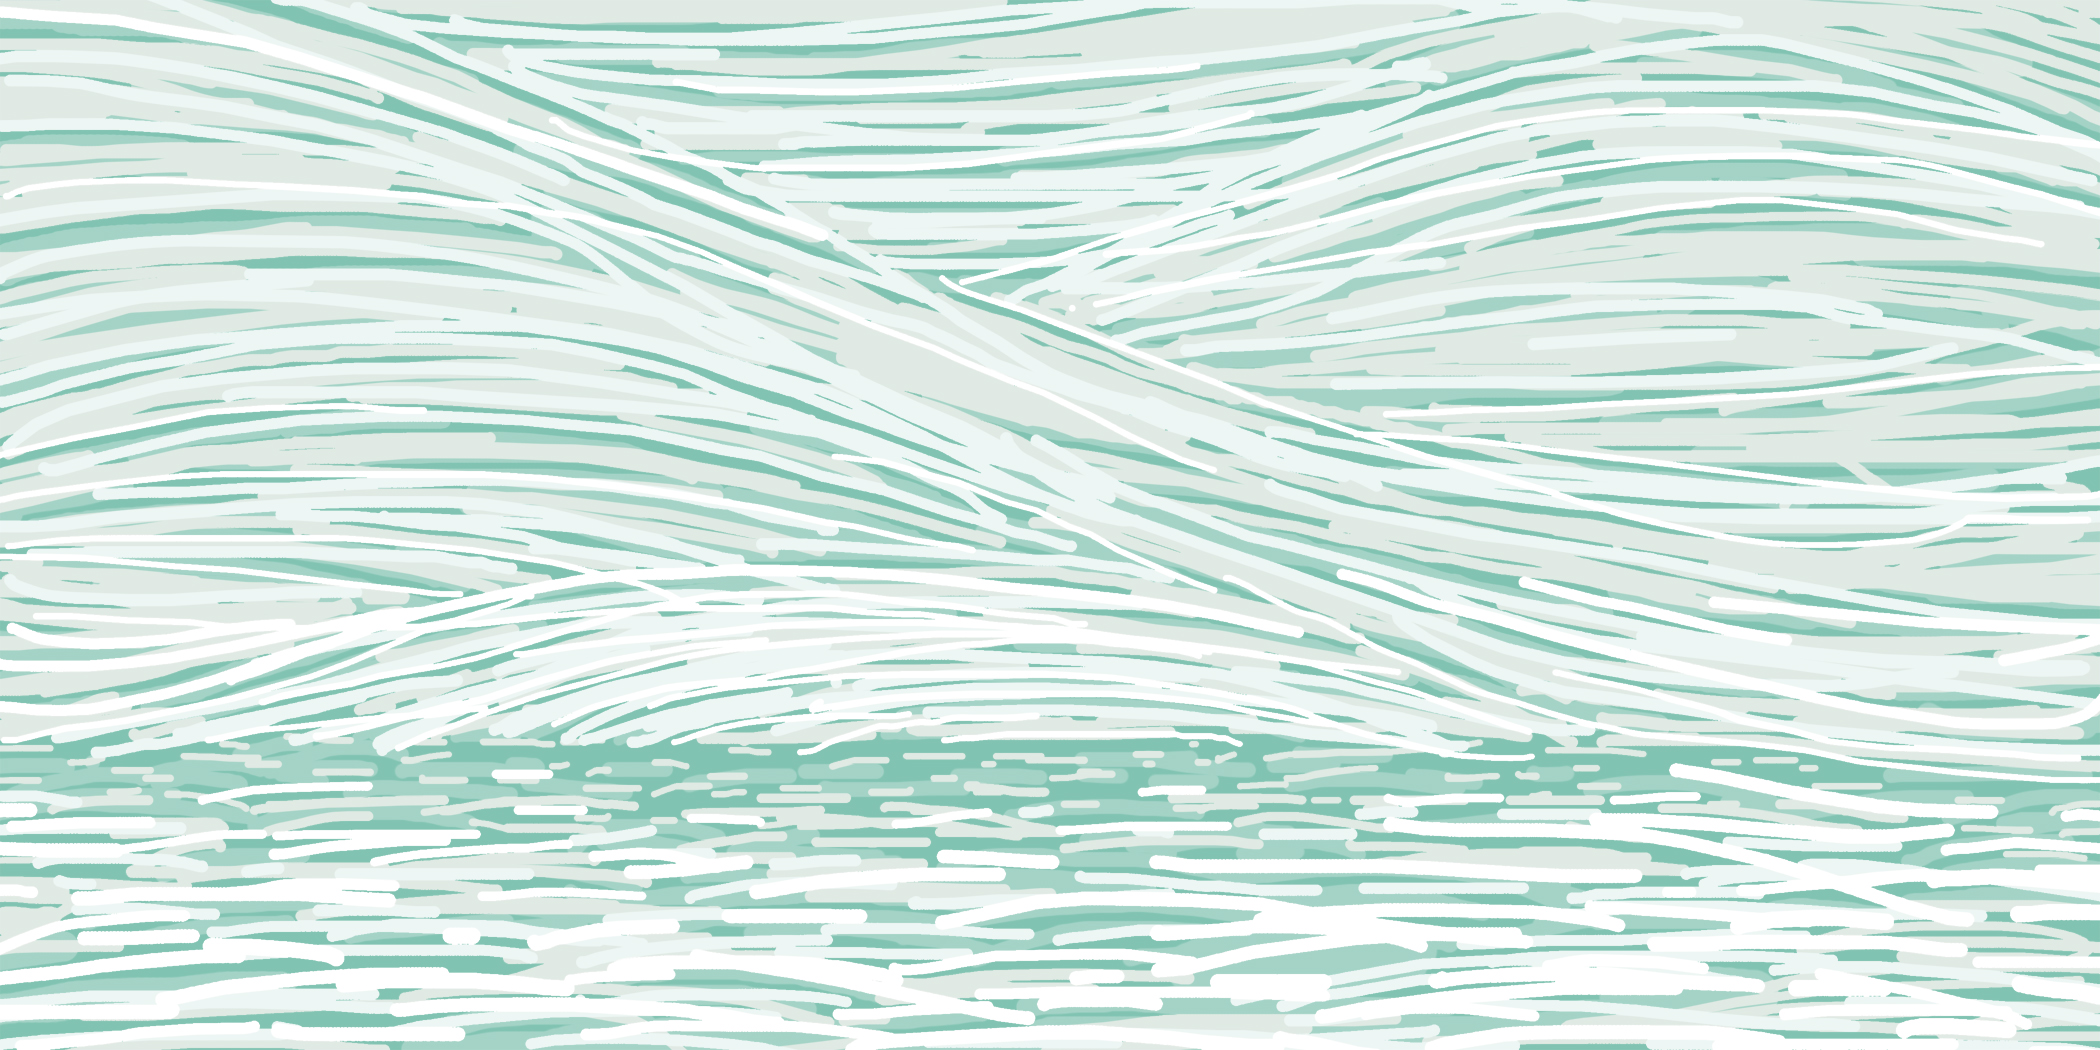
Color digital sketch.
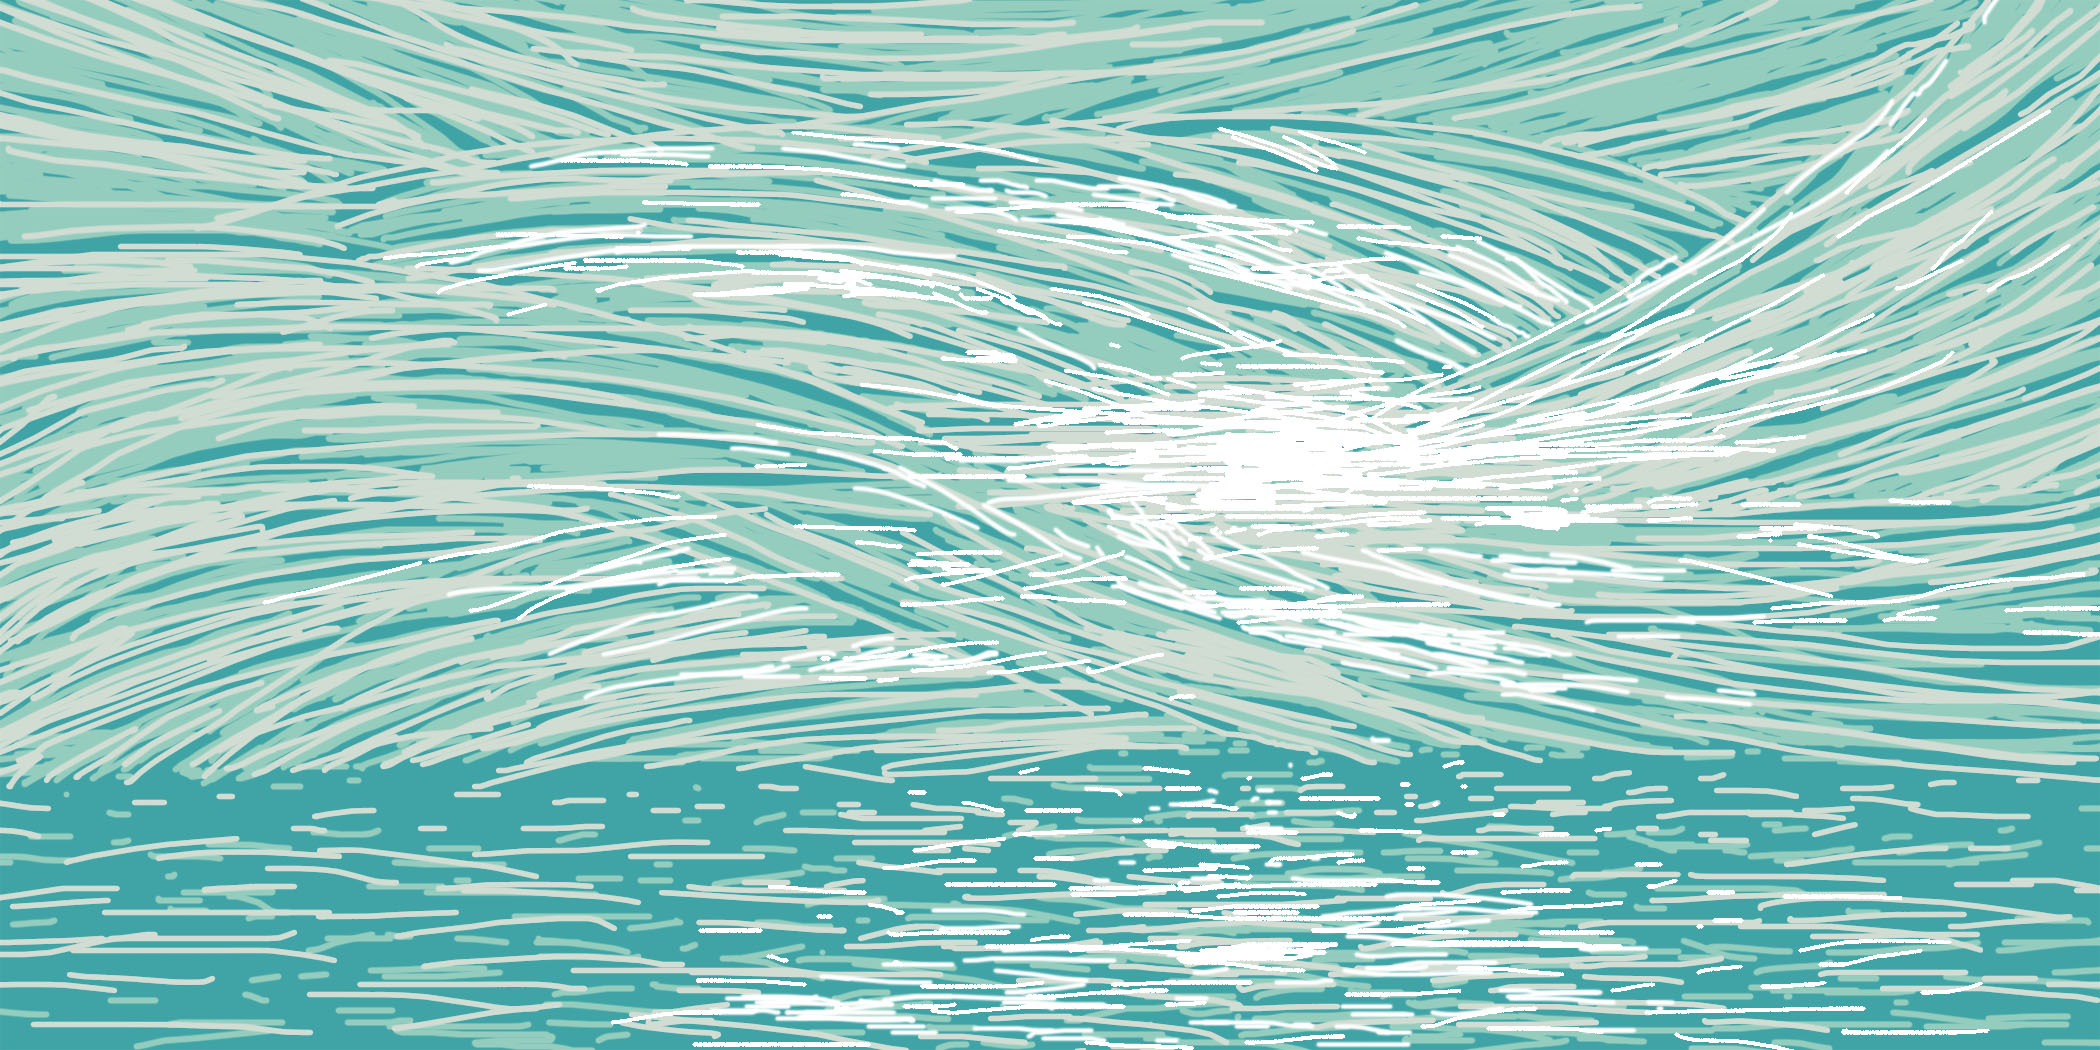
Color digital sketch.
I wanted to make sure my color choices and technique were going to work. Before I made the final art I created a smaller prototype version.
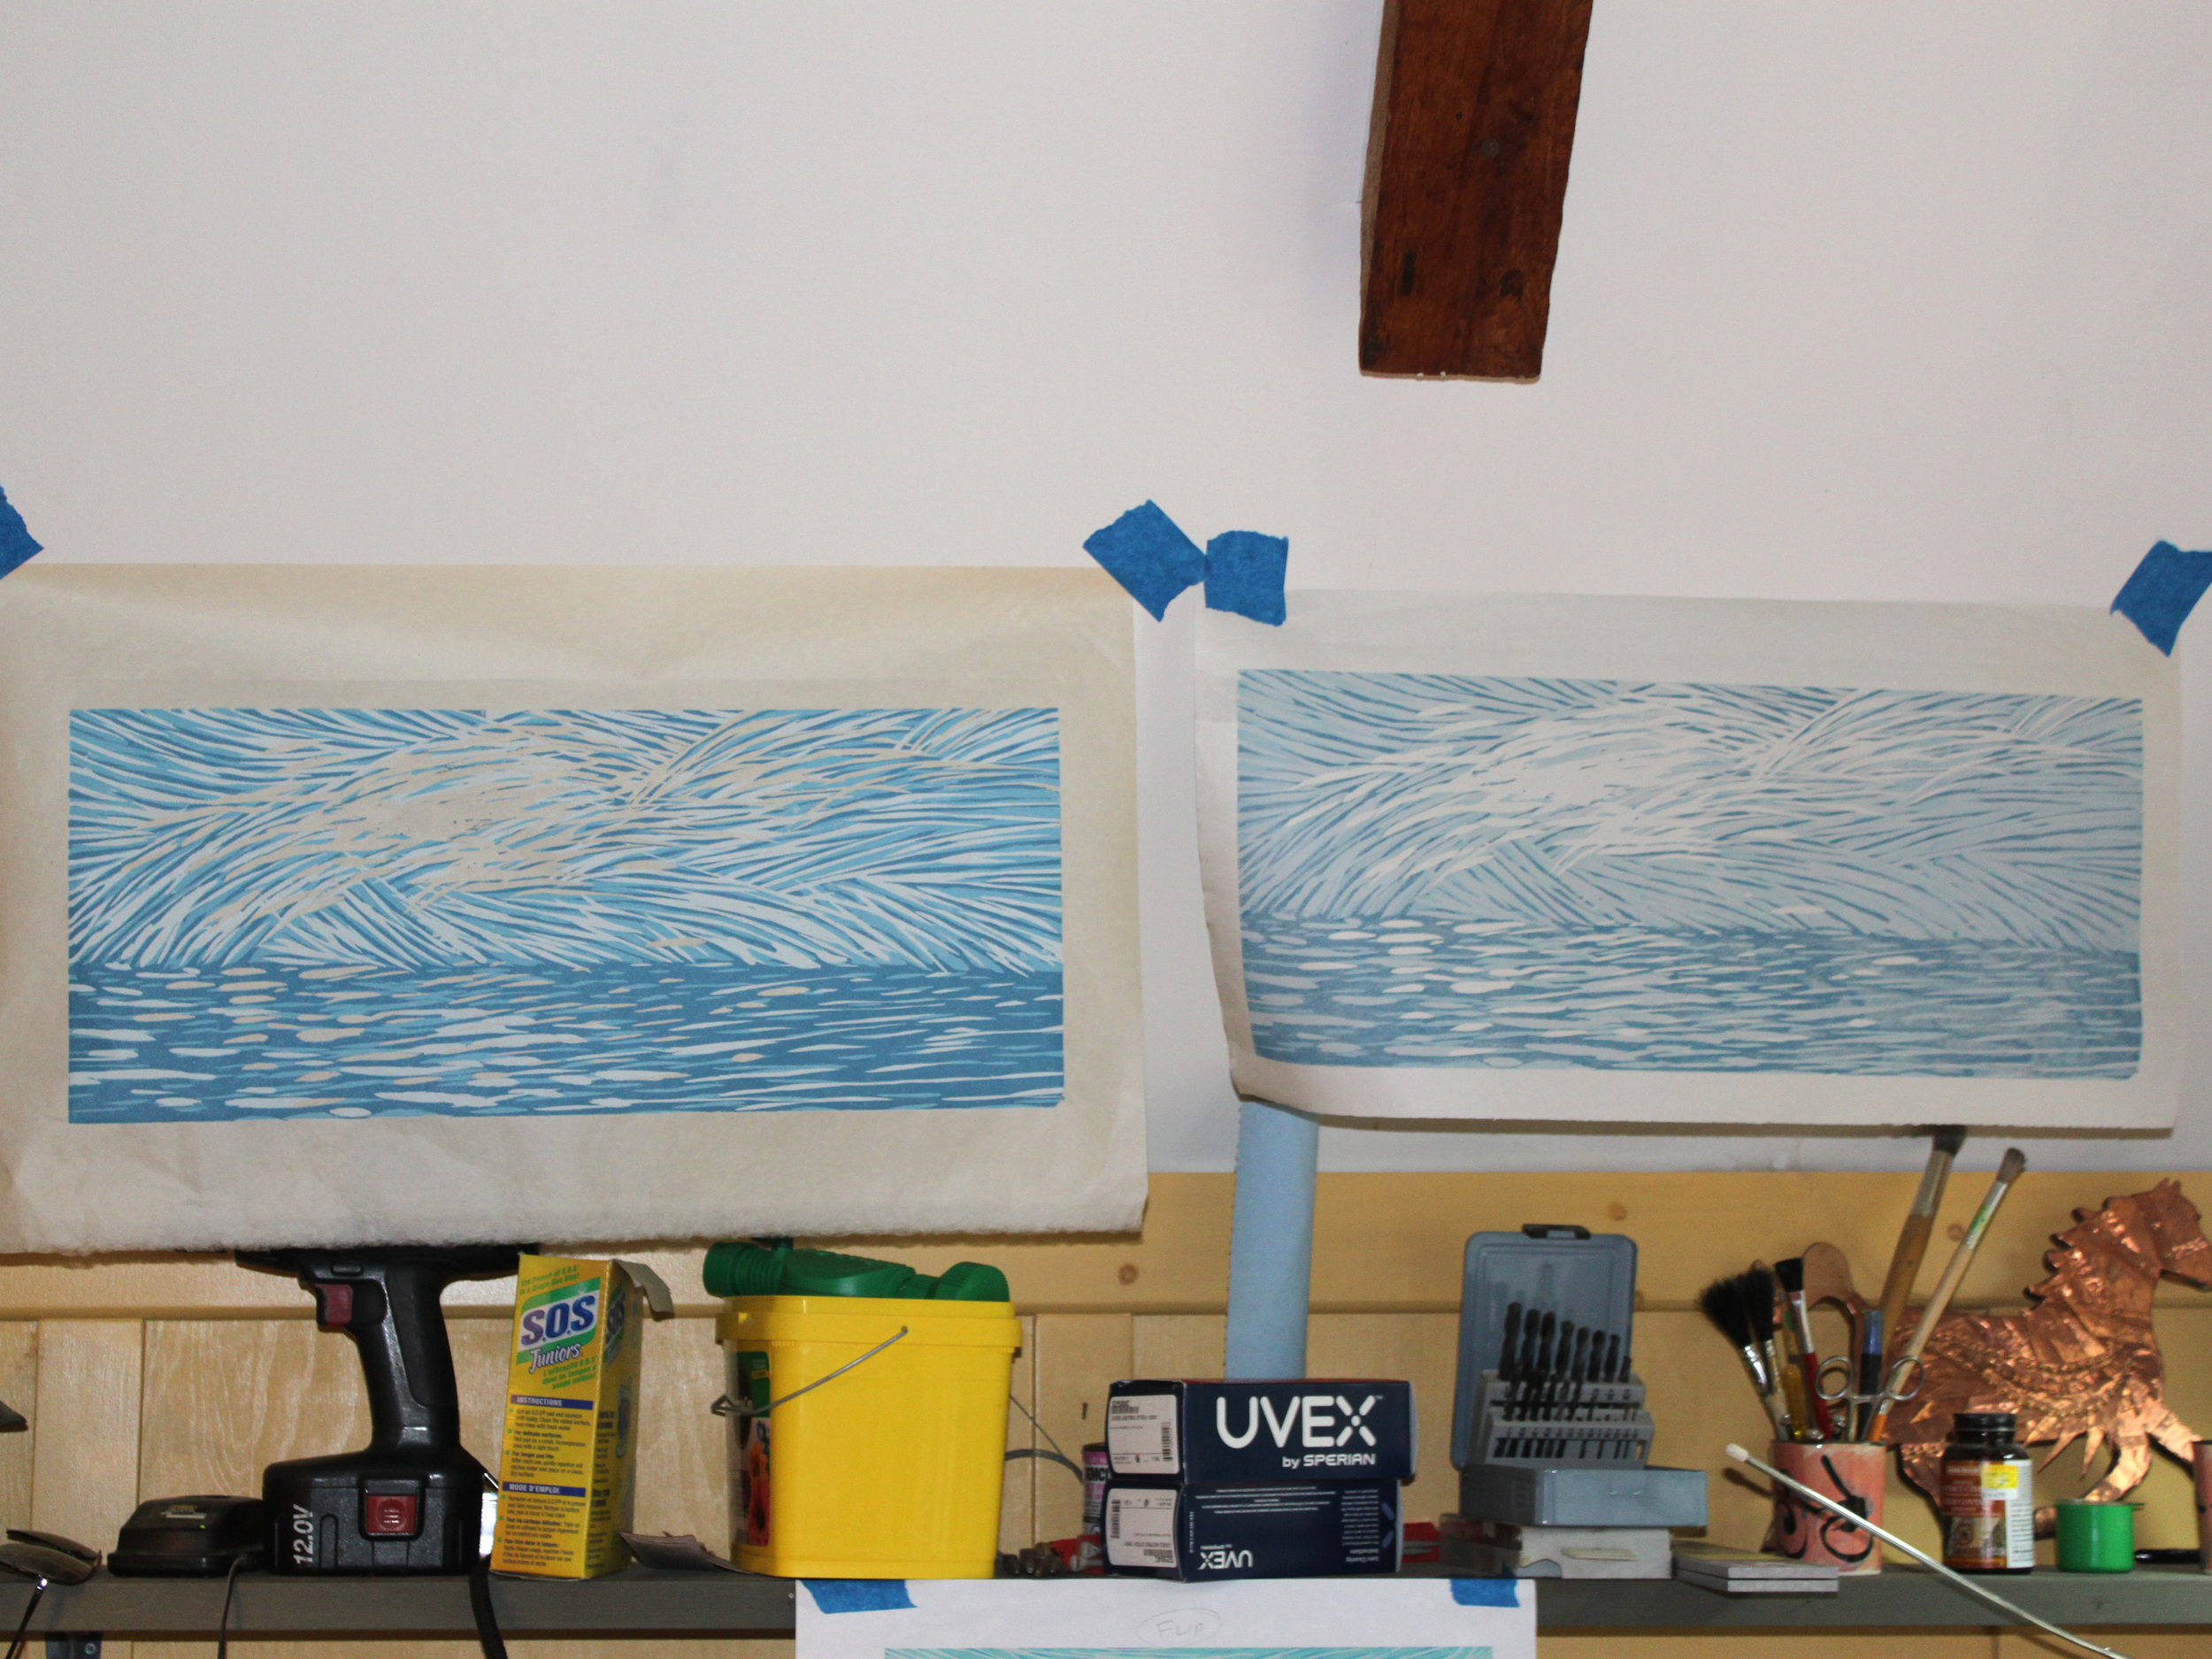
3-color prototype prints drying.
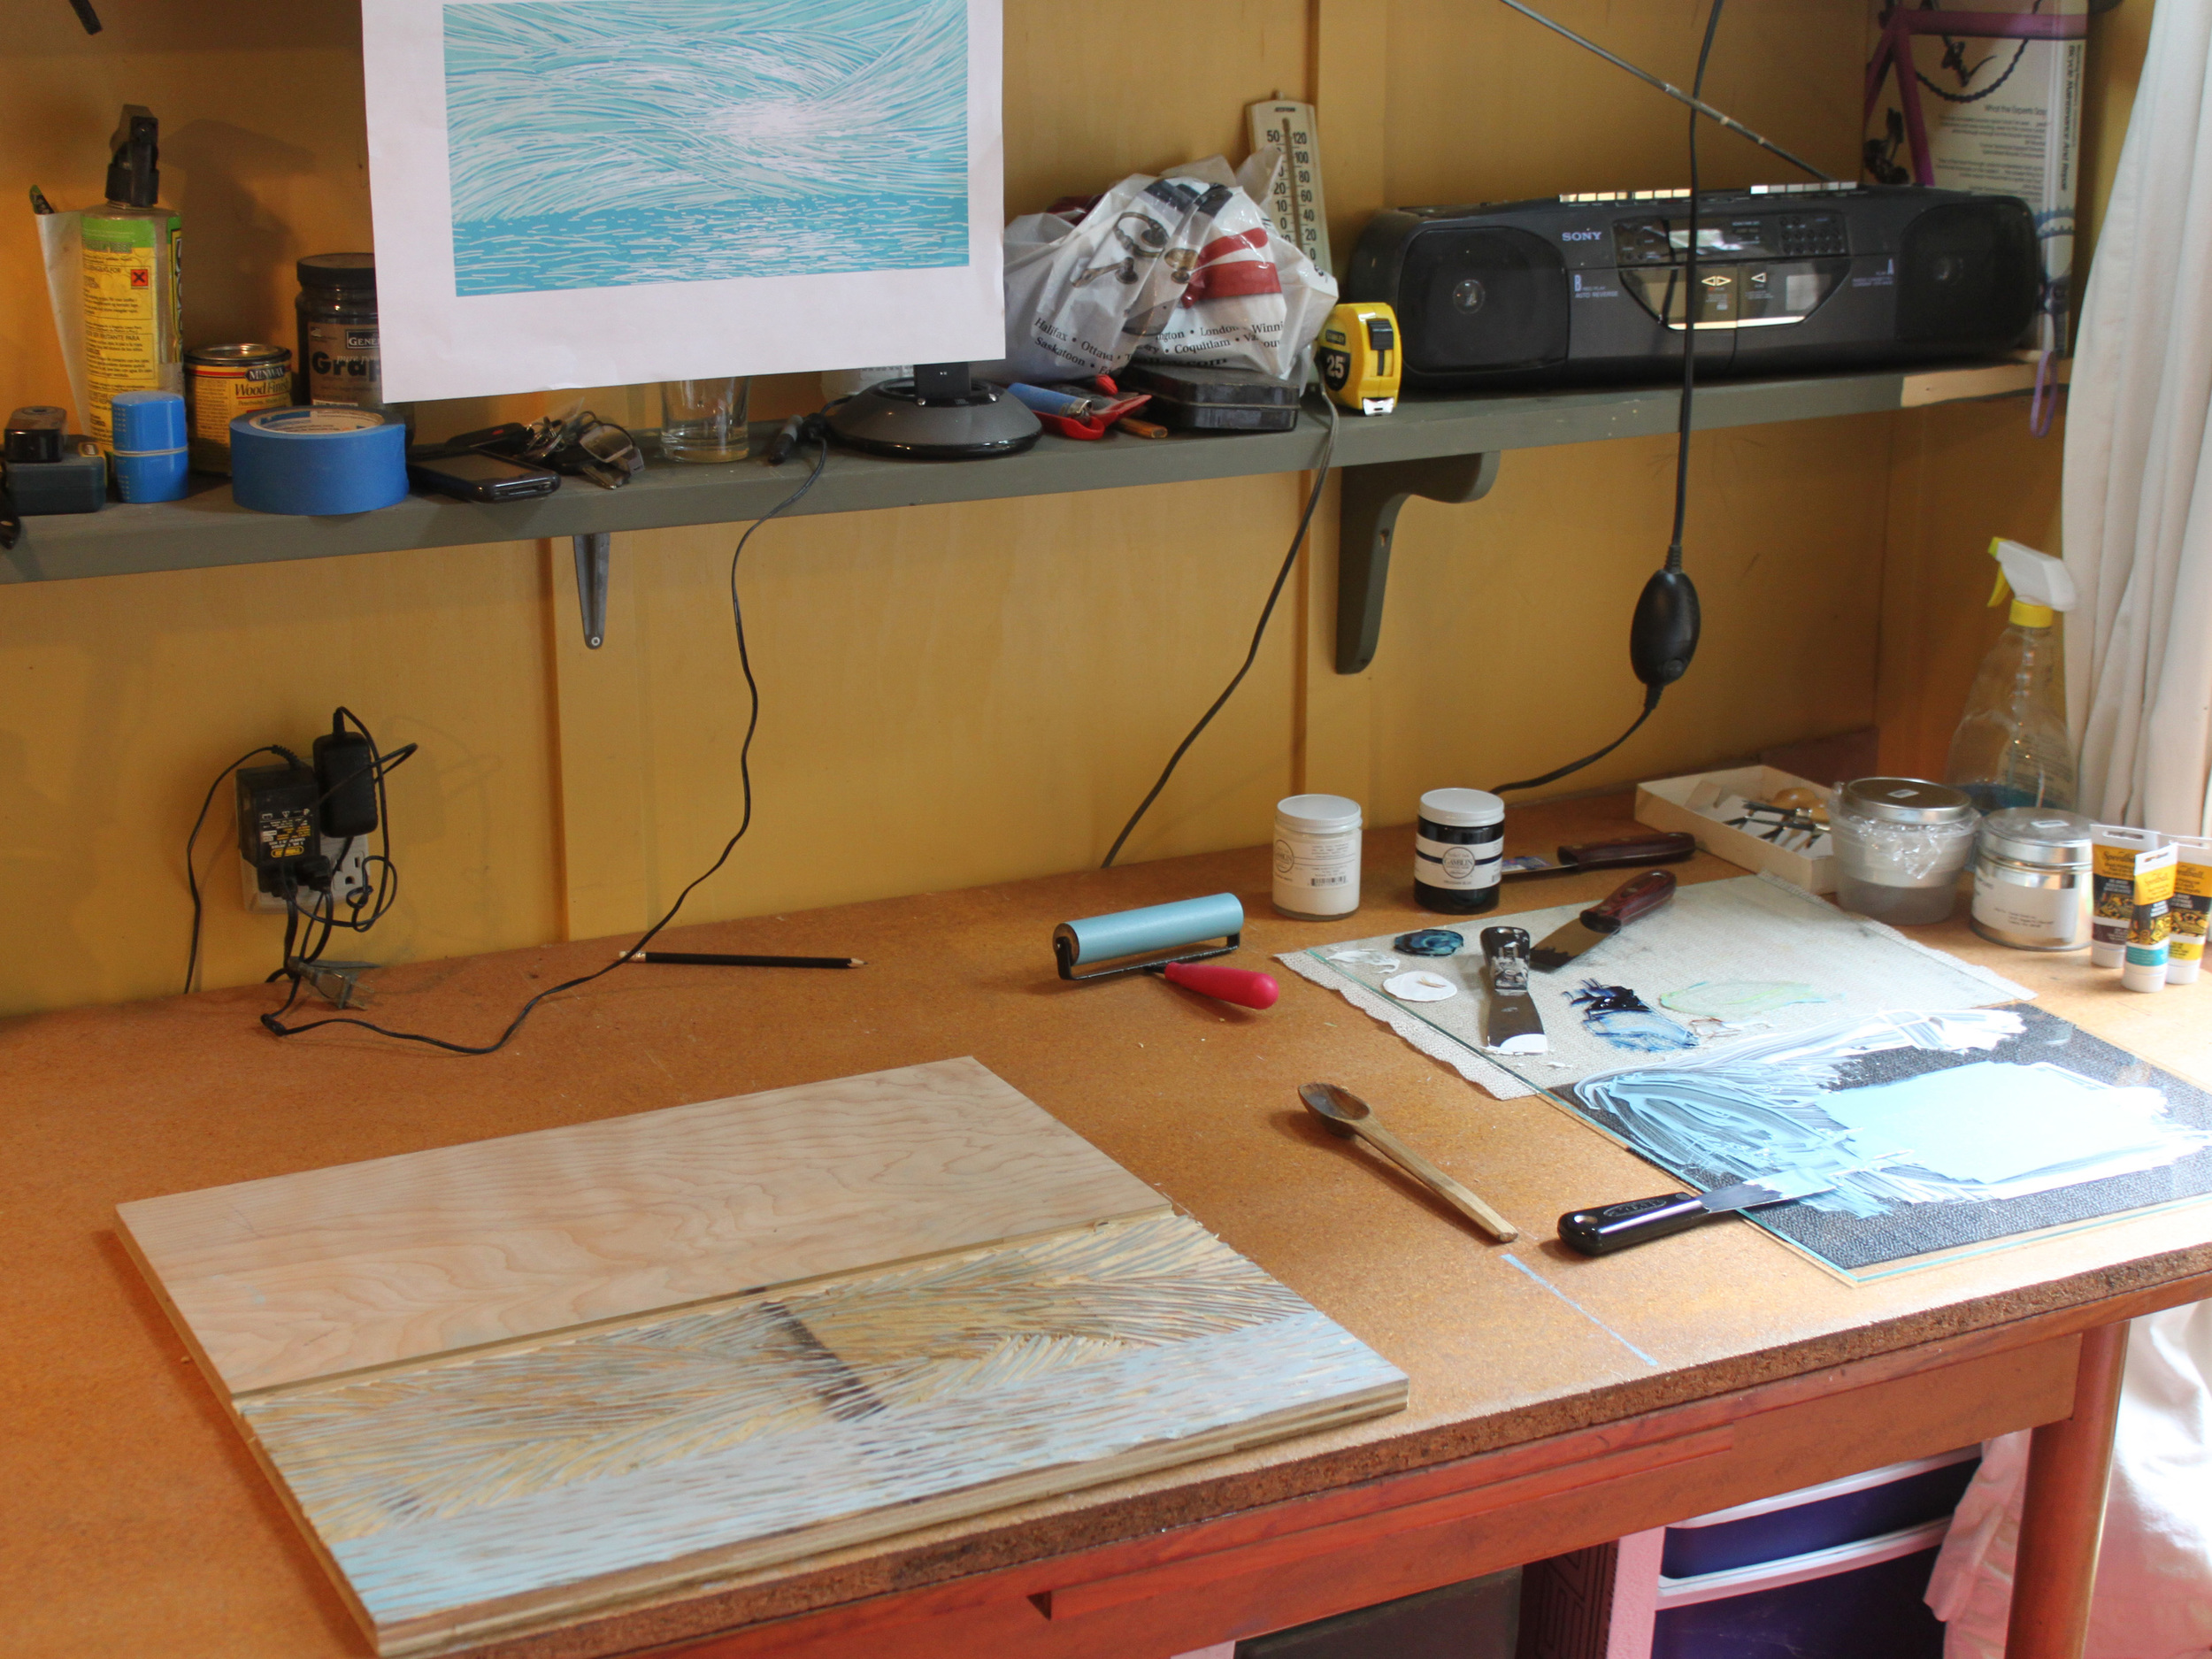
The technique I used here is called Reduction Printing. It’s a process of building up an image from lightest tone to darkest. I carved the block with an image, printed that image in the lightest color. I then clean up the block carve it again and print the next darkest color. In this case I repeated this process three times.
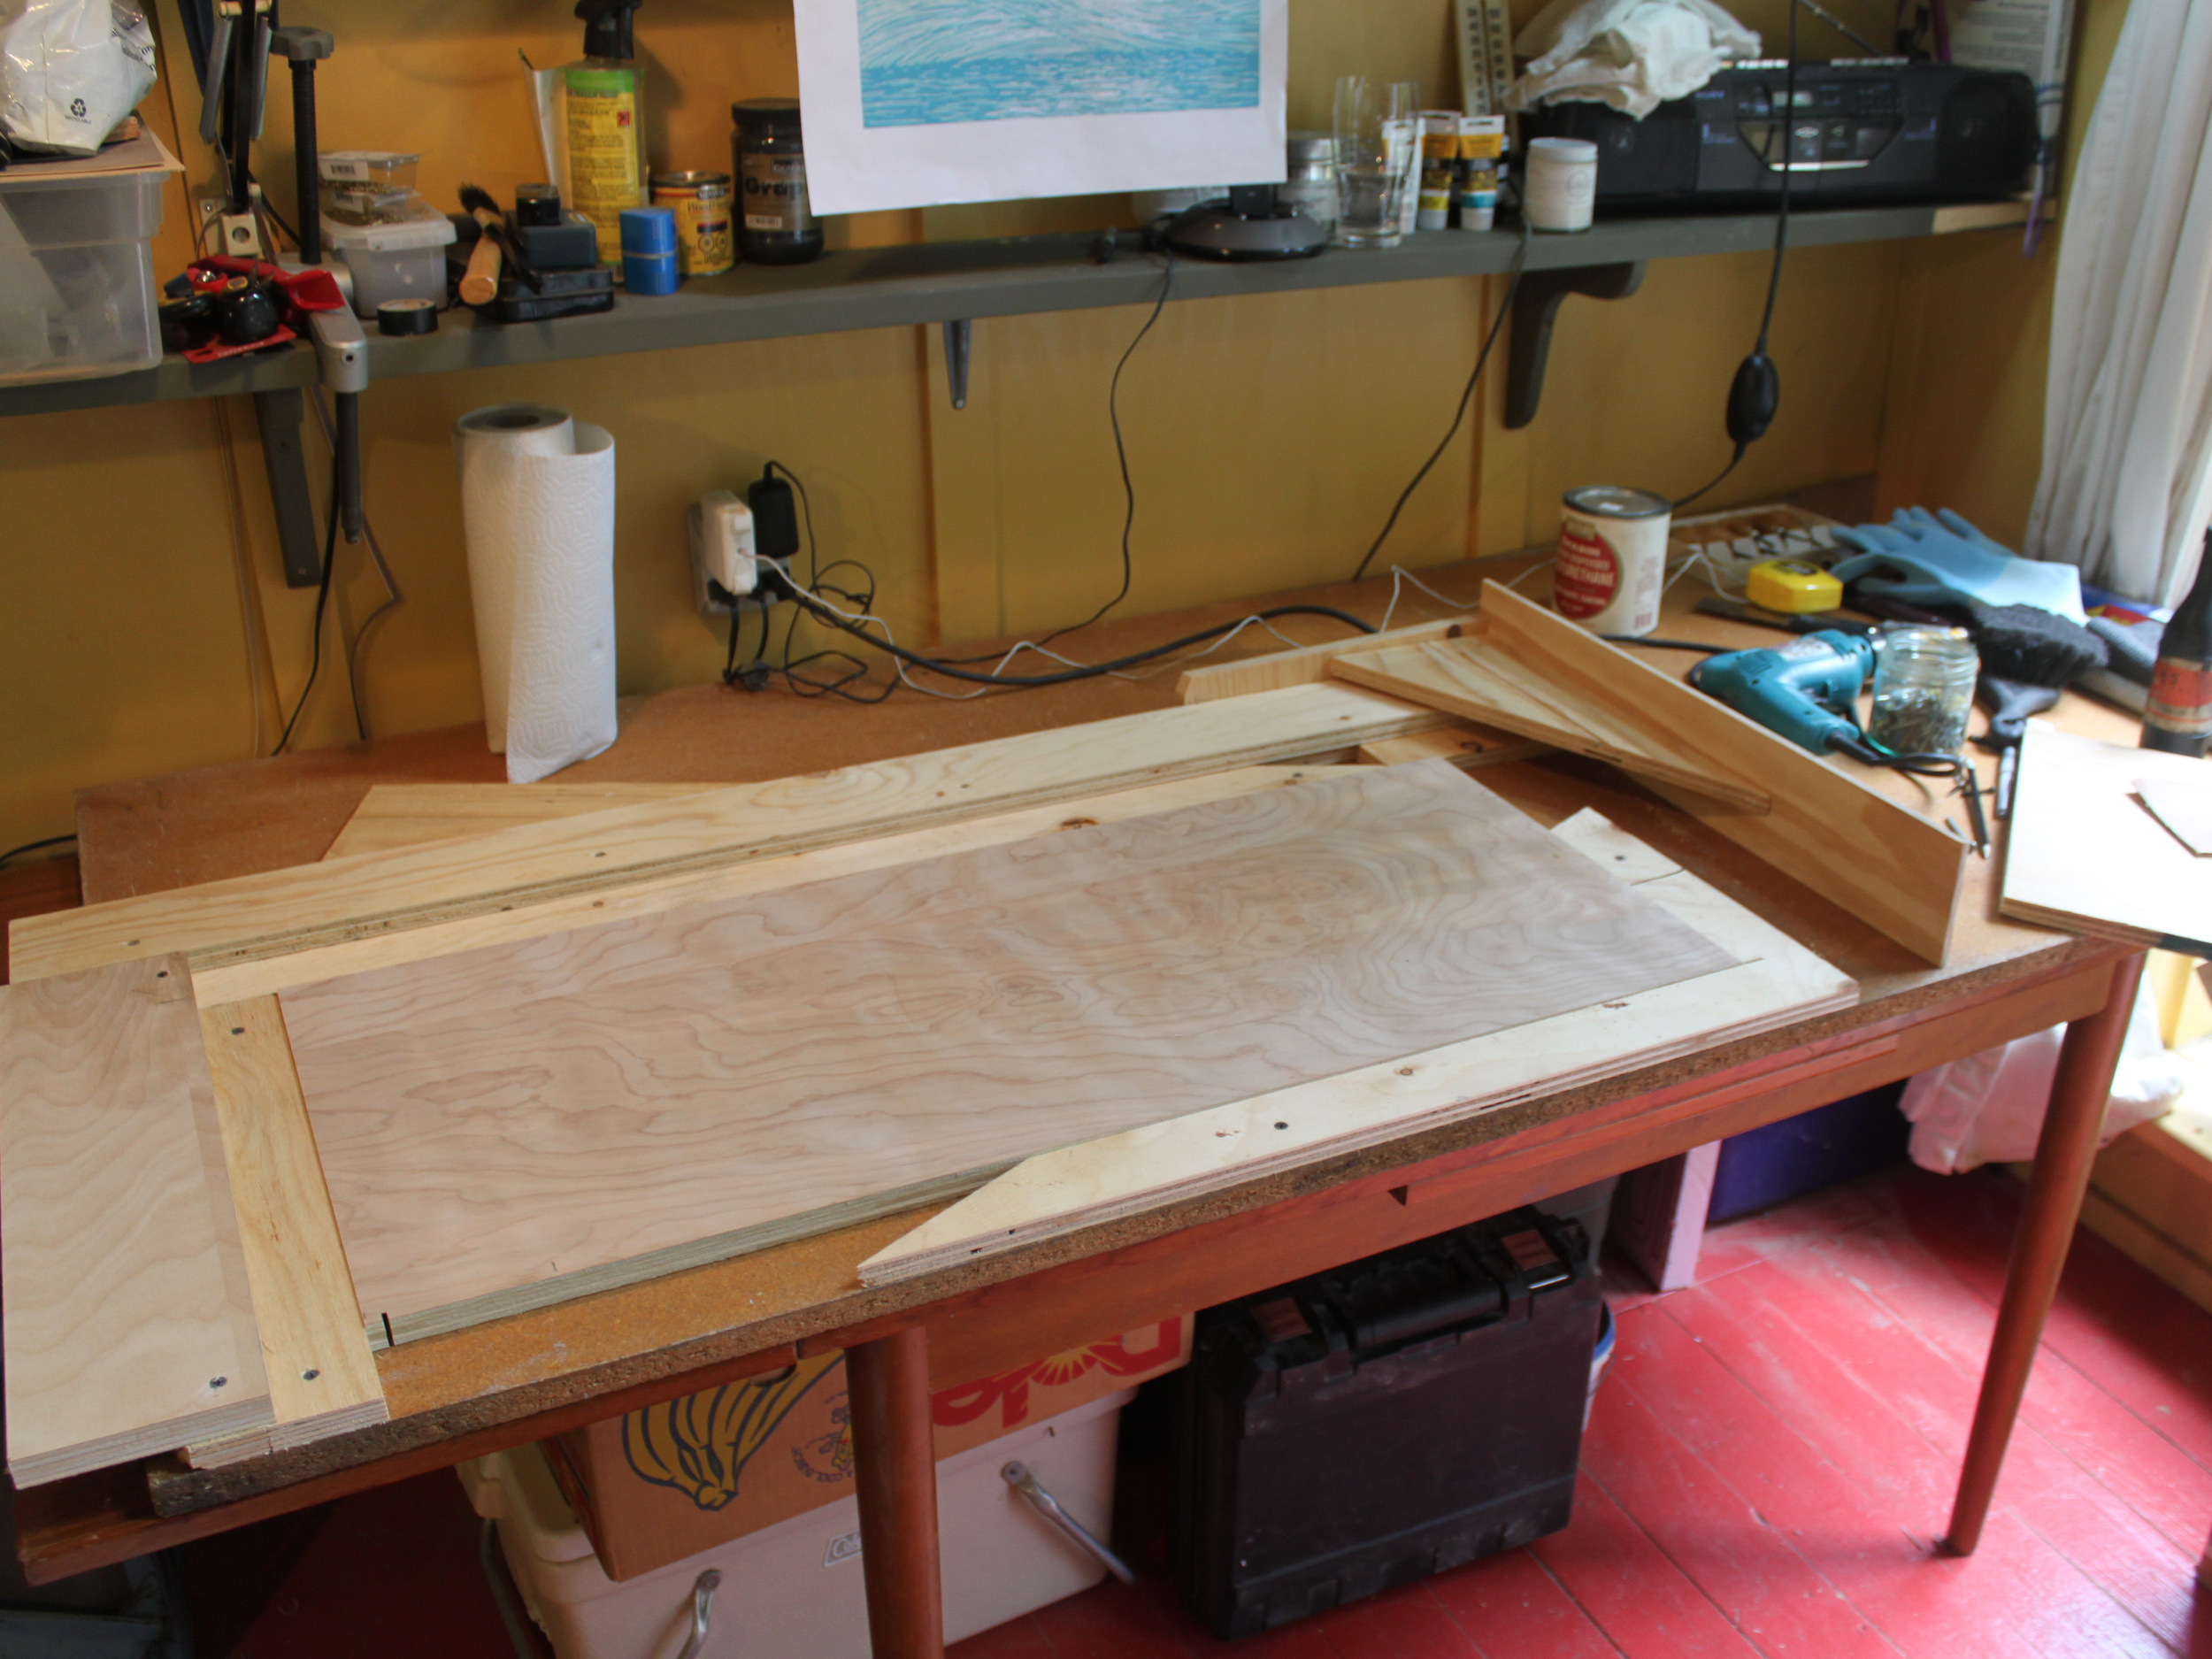
Sometimes I create a jig to hold the block steady while I carve. In this case the jig will also serve as a registration device when I print the multiple colors and need them all to line up.
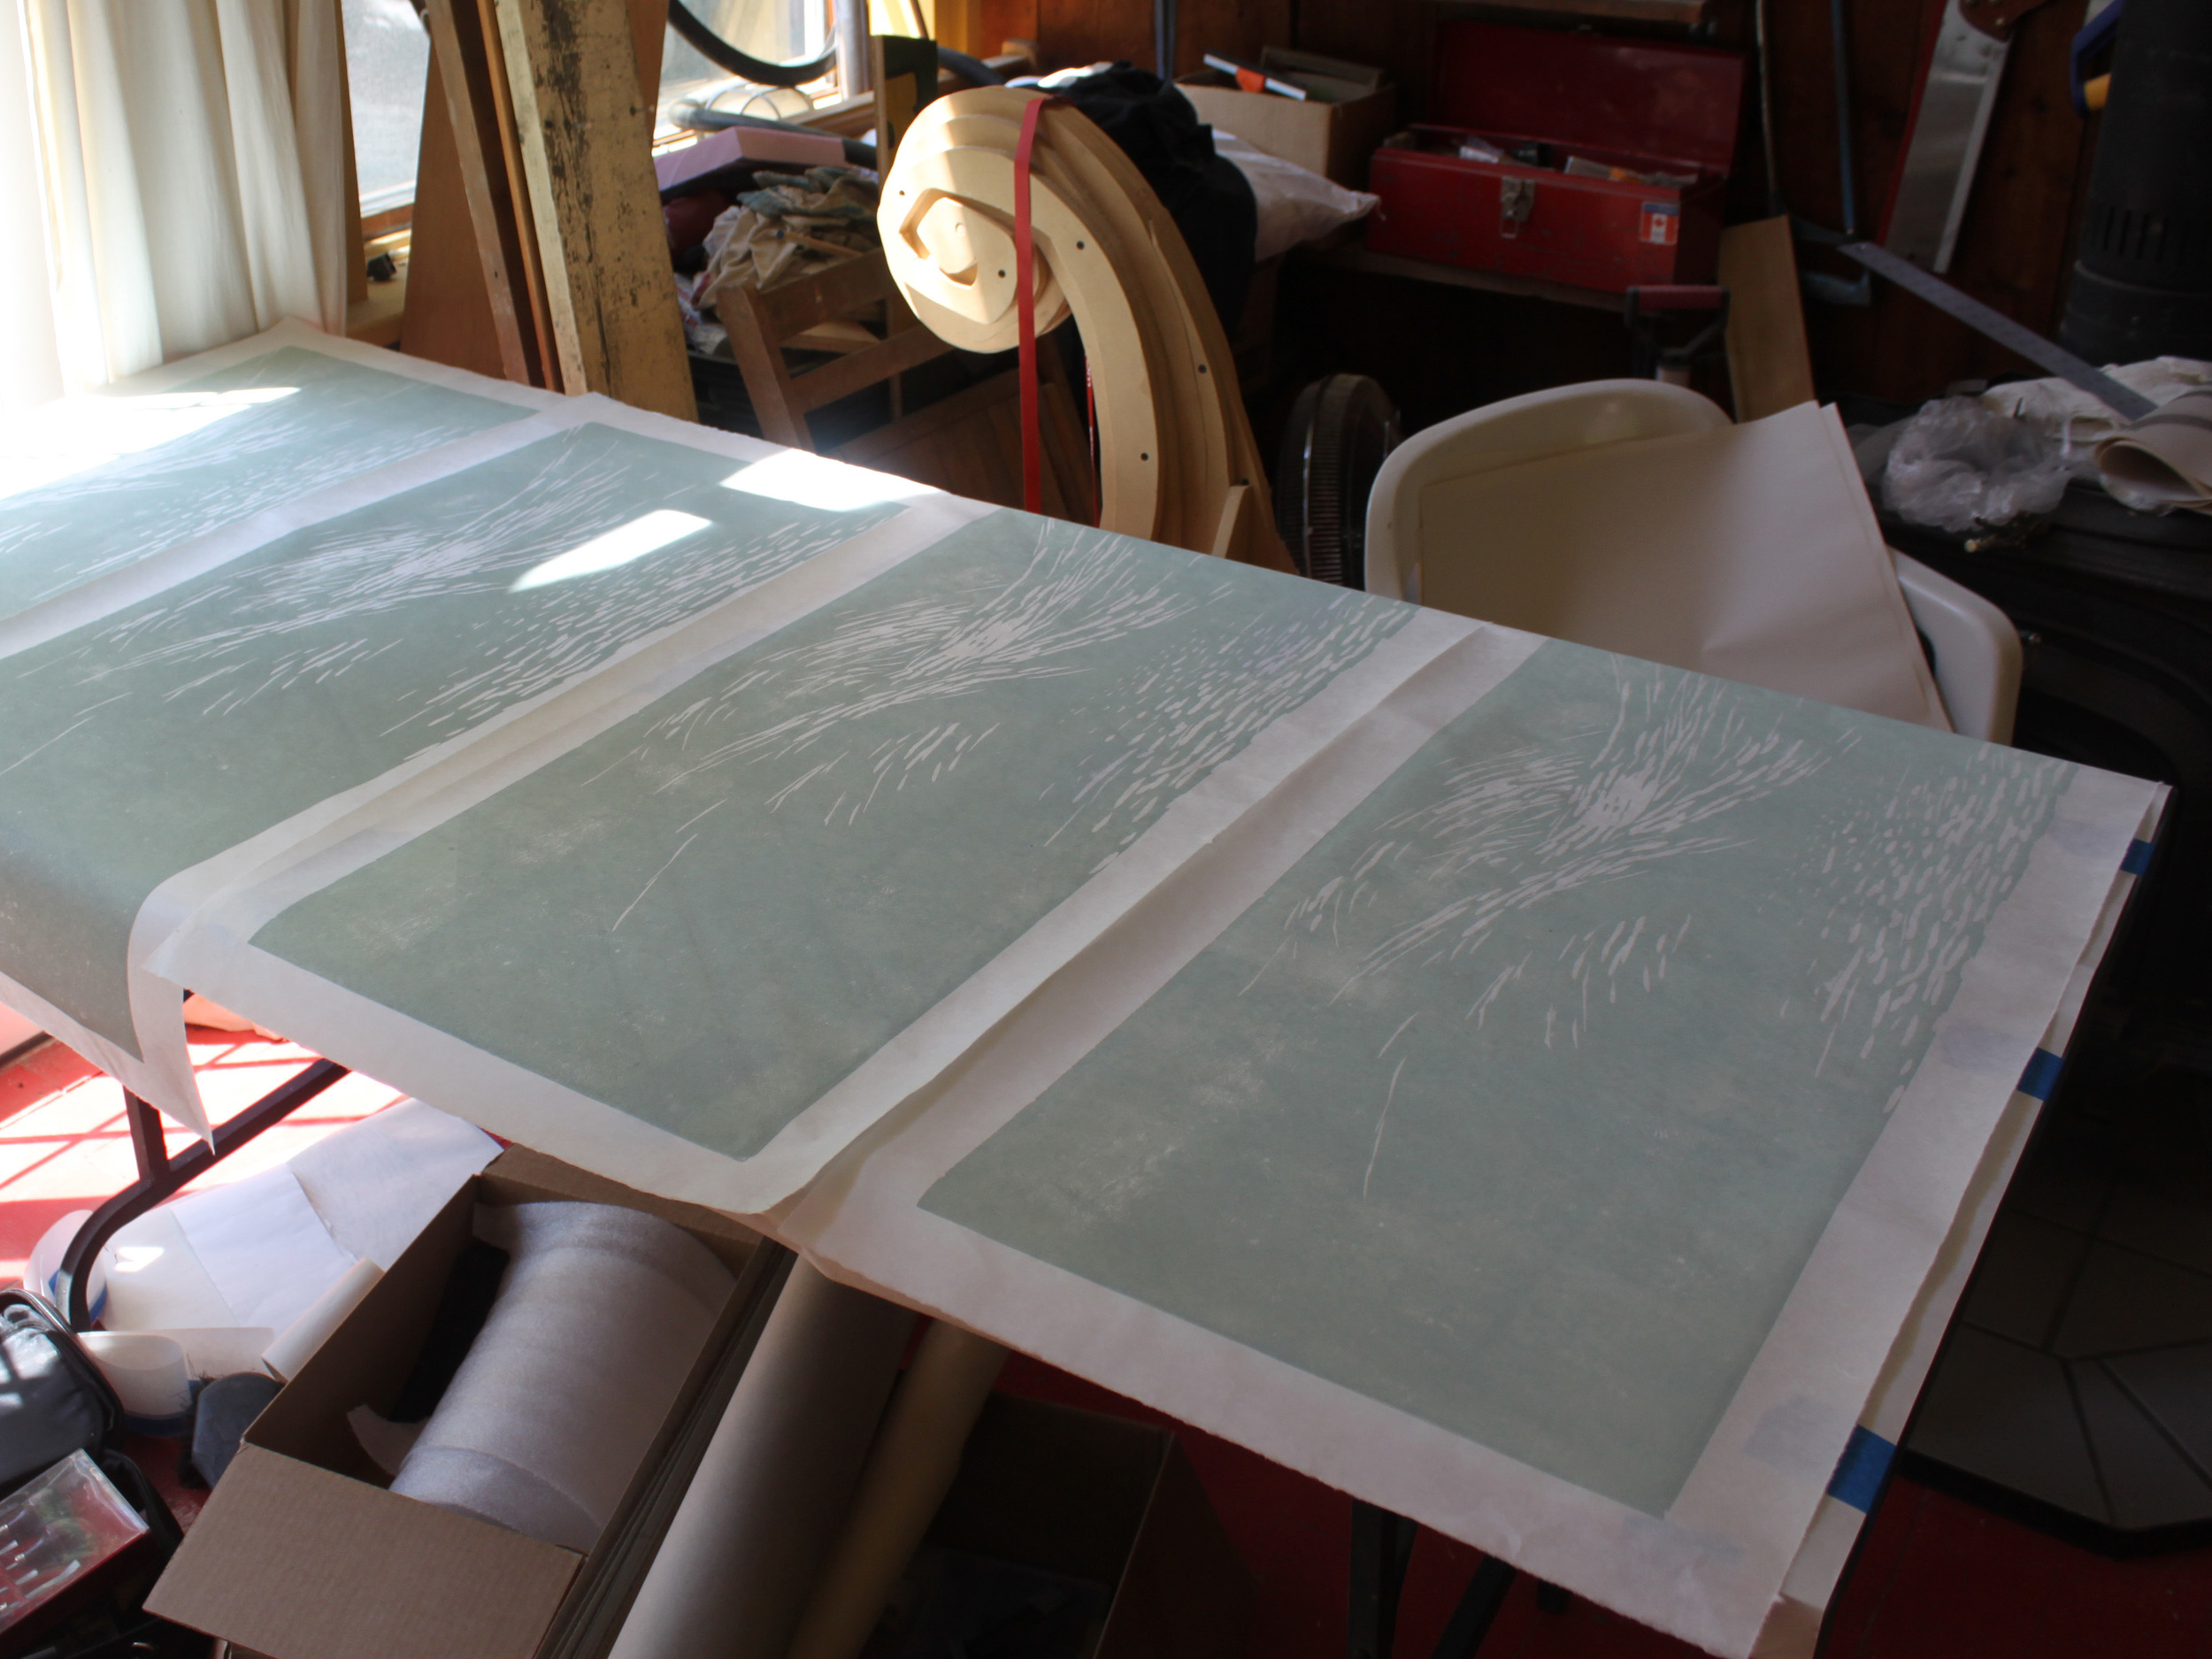
Drying prints using the first (lightest) ink.
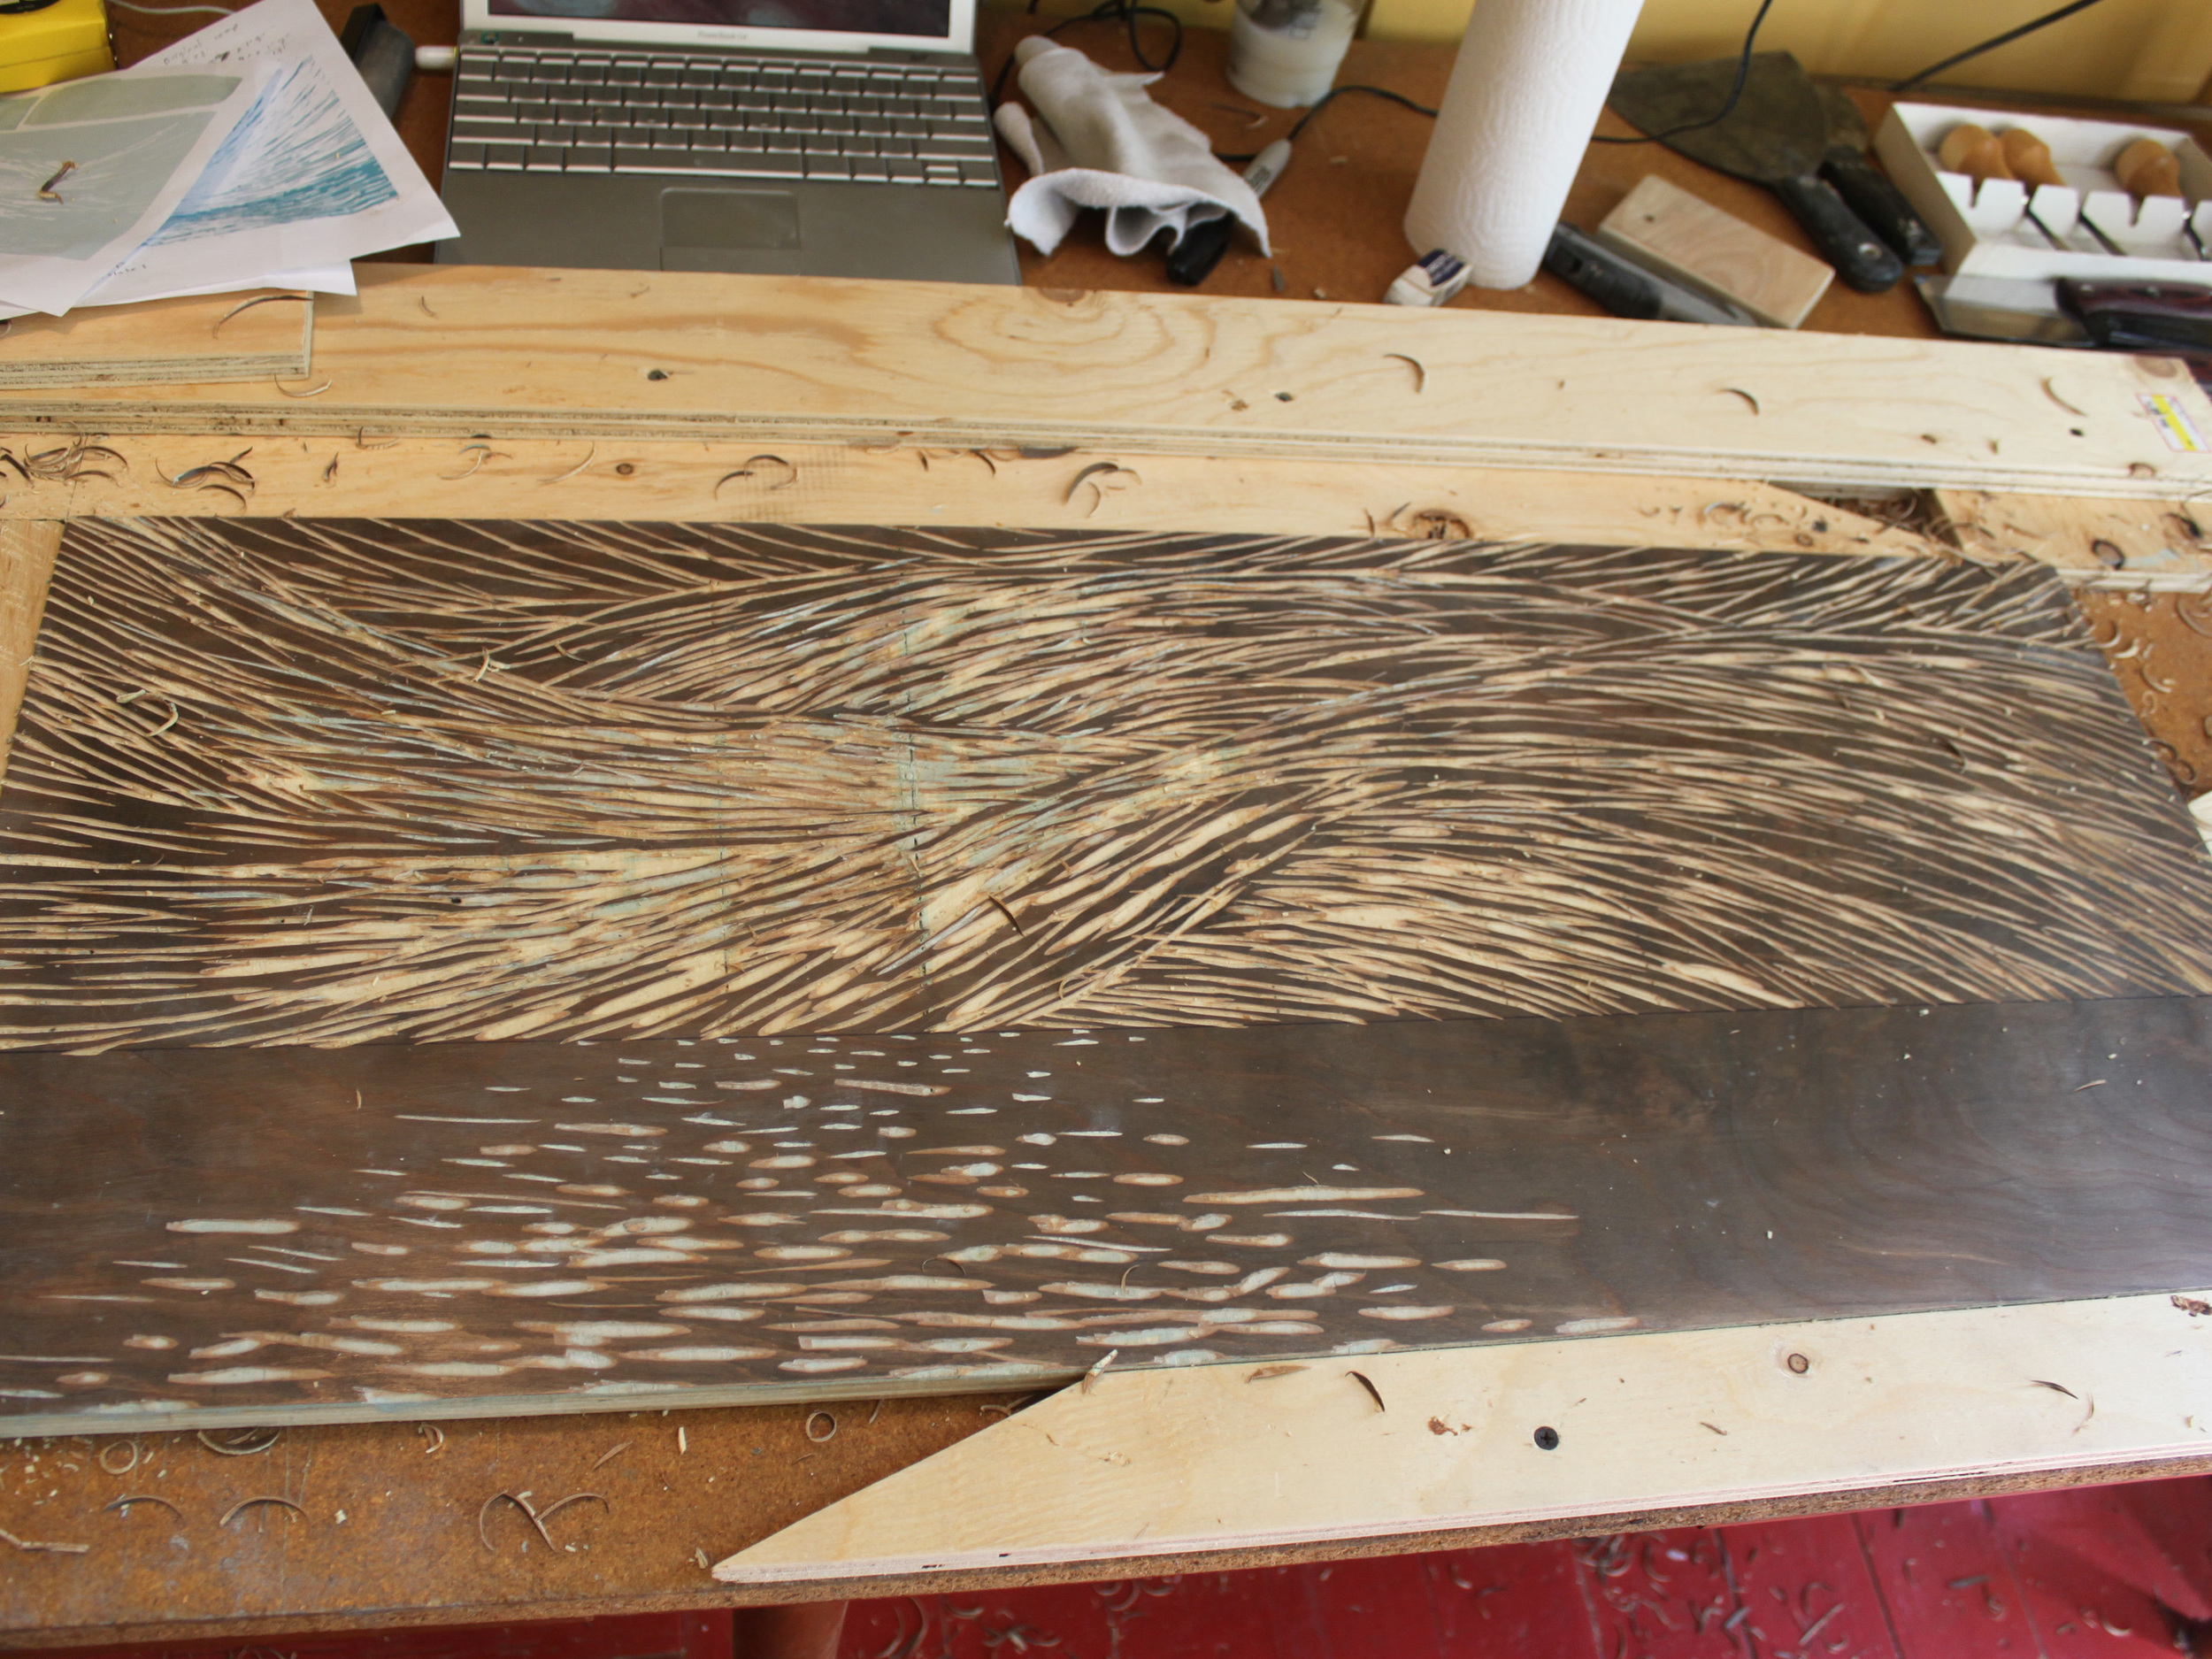
Here I’ve removed more of the block. Whatever I carve away will allow the first light blue to show through.
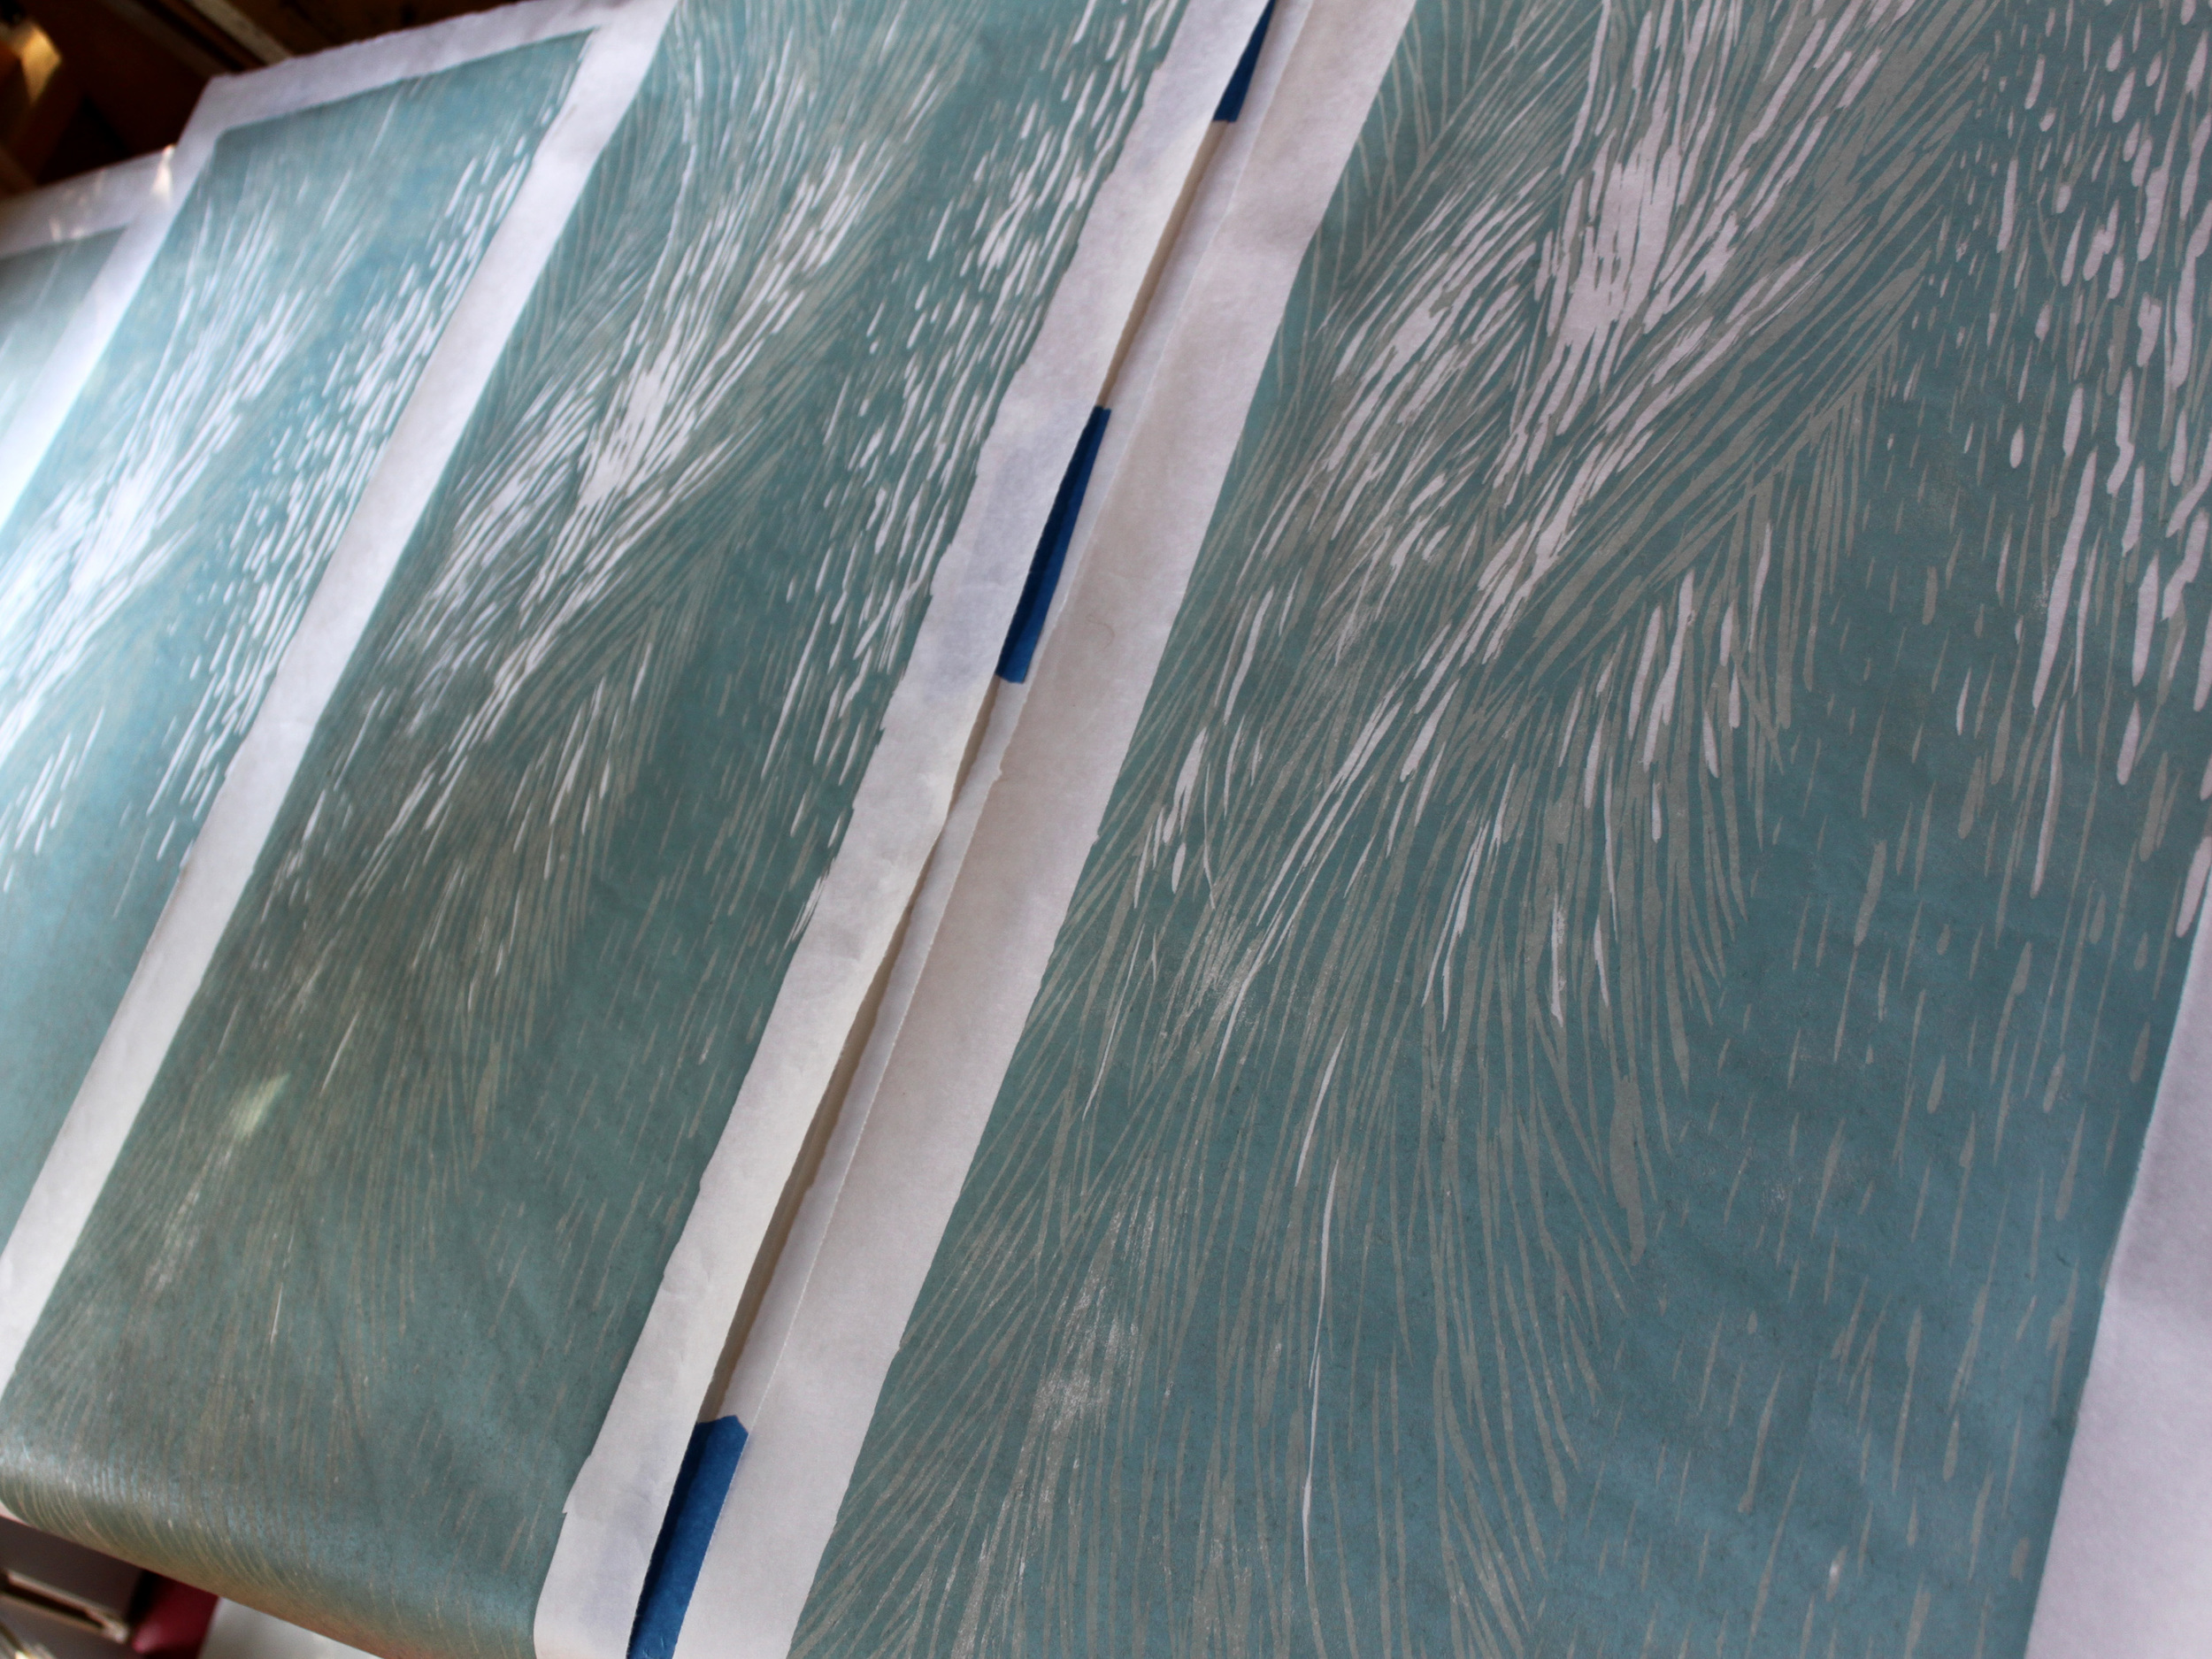
Drying 2-color prints.

Here I’ve removed even more of the block. Whatever I carve away will allow both the first and second colors to show through.
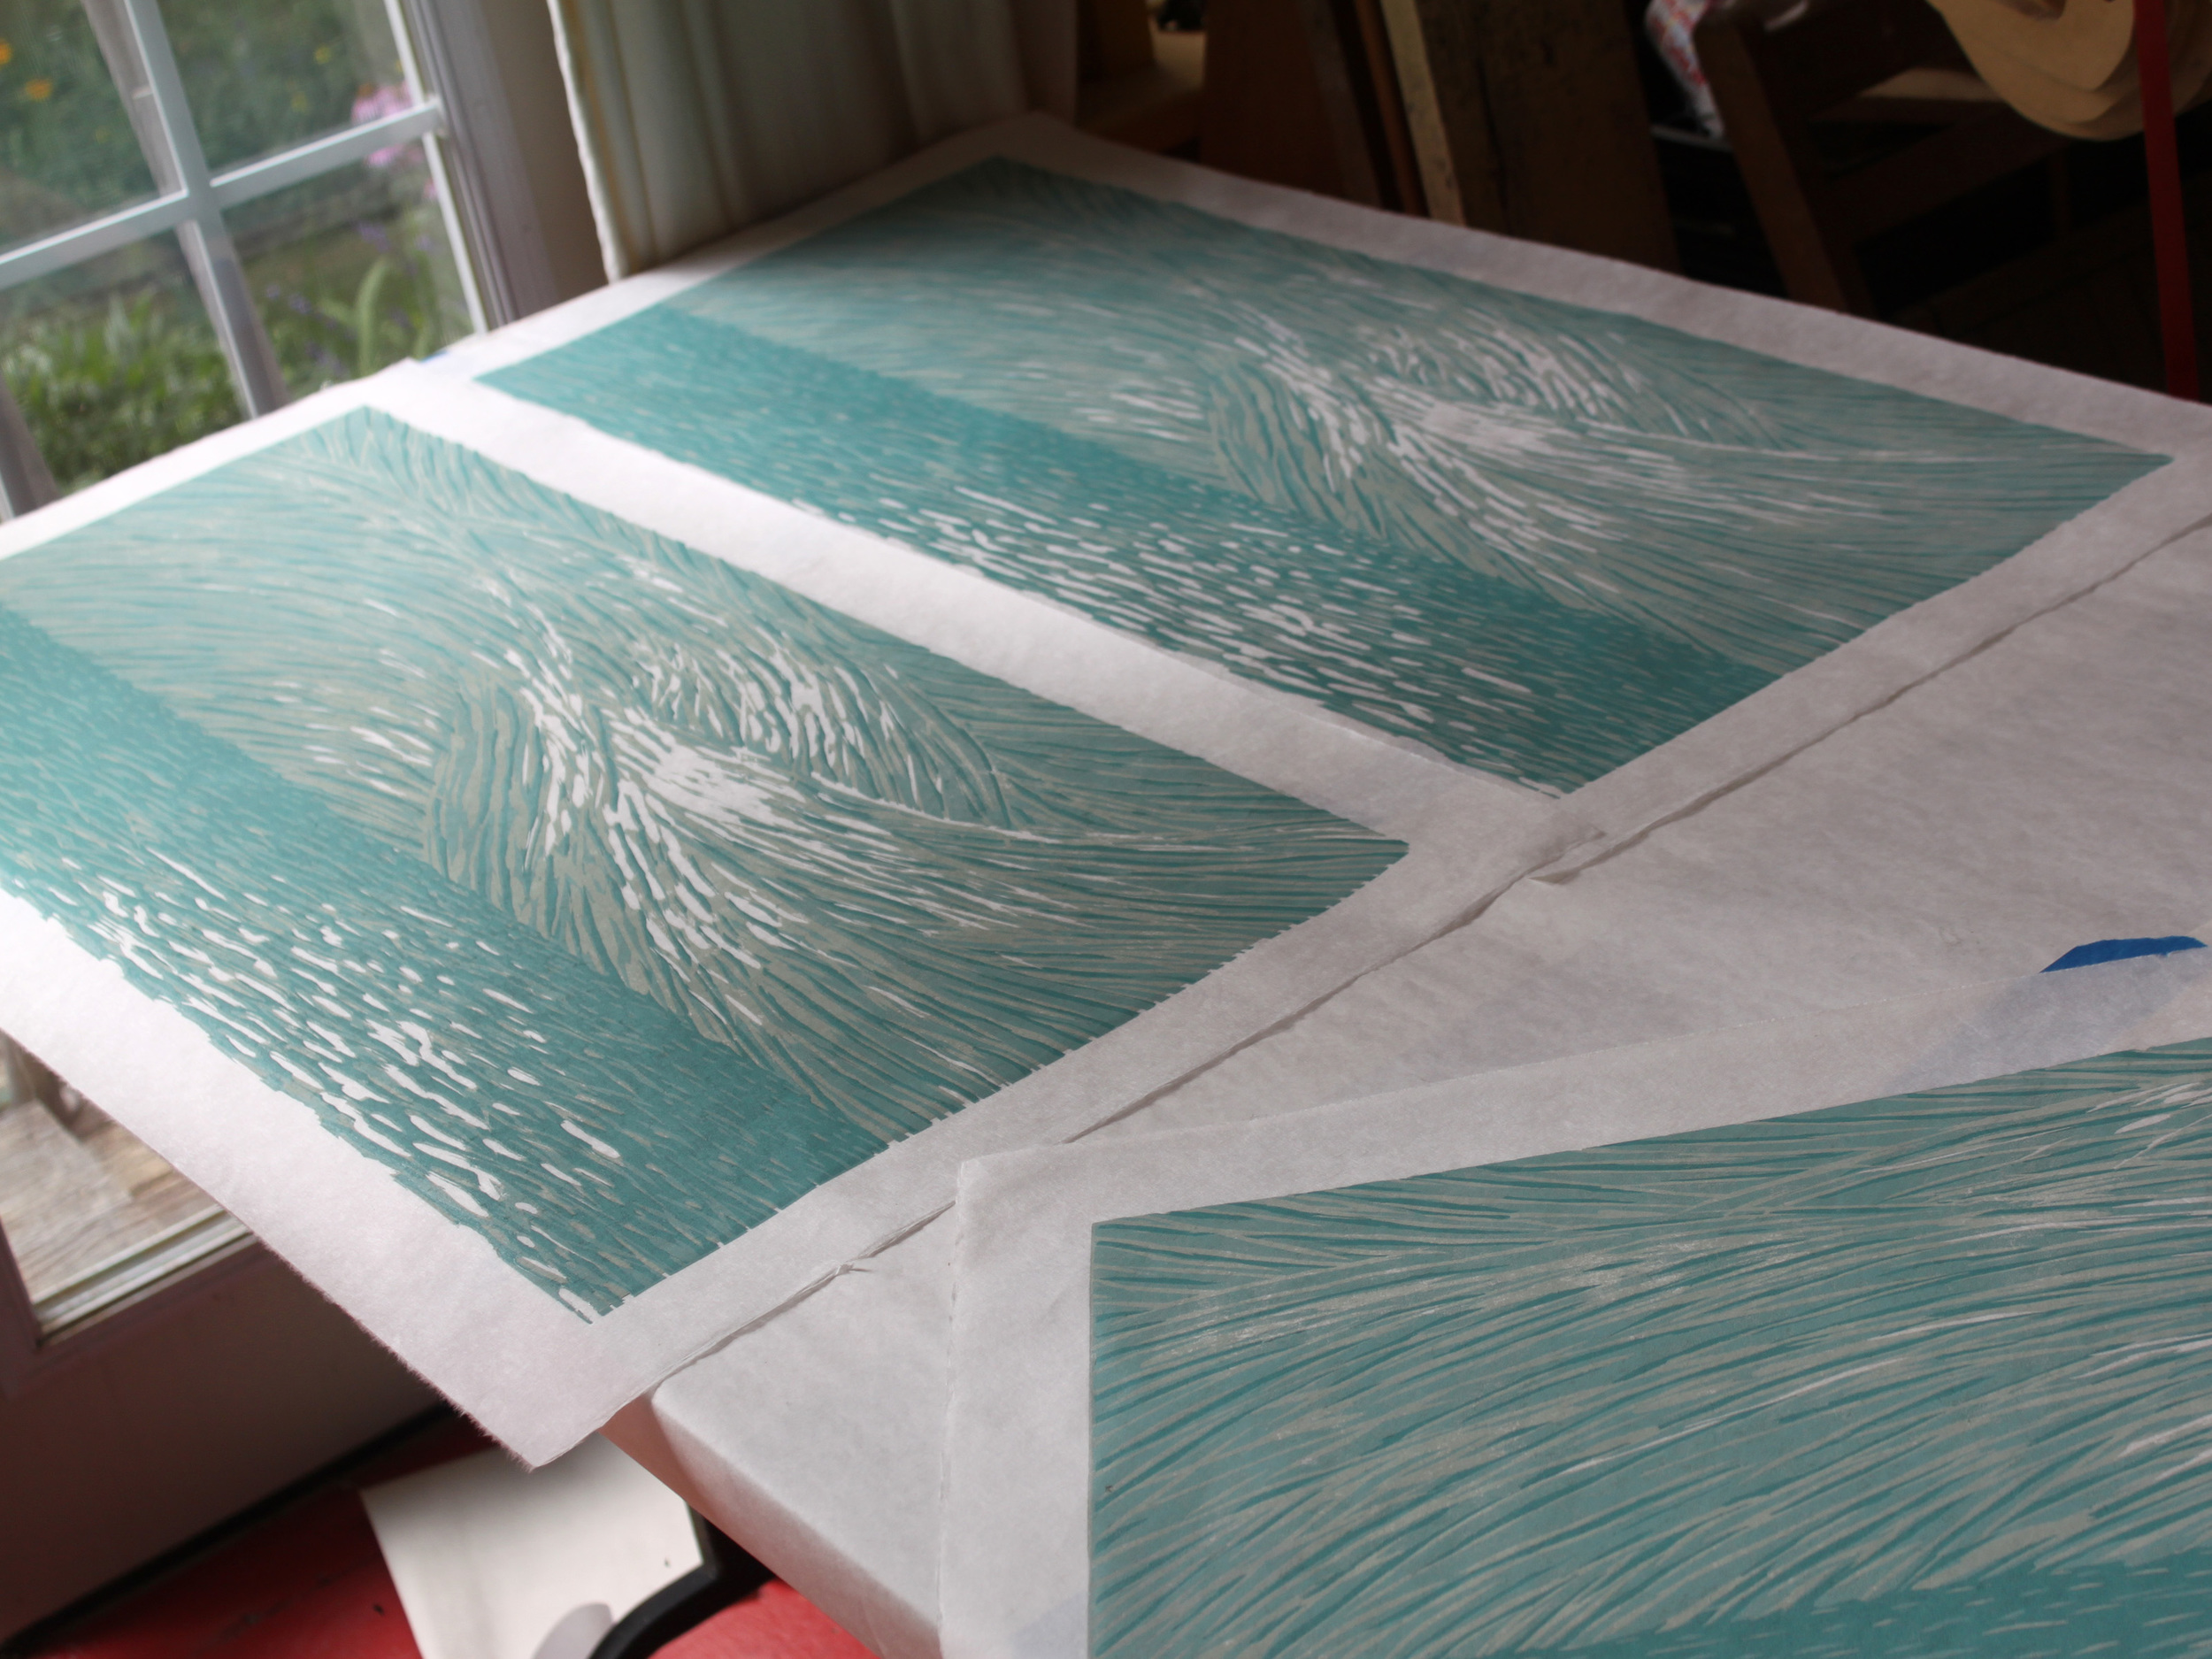
Drying 3-color prints.
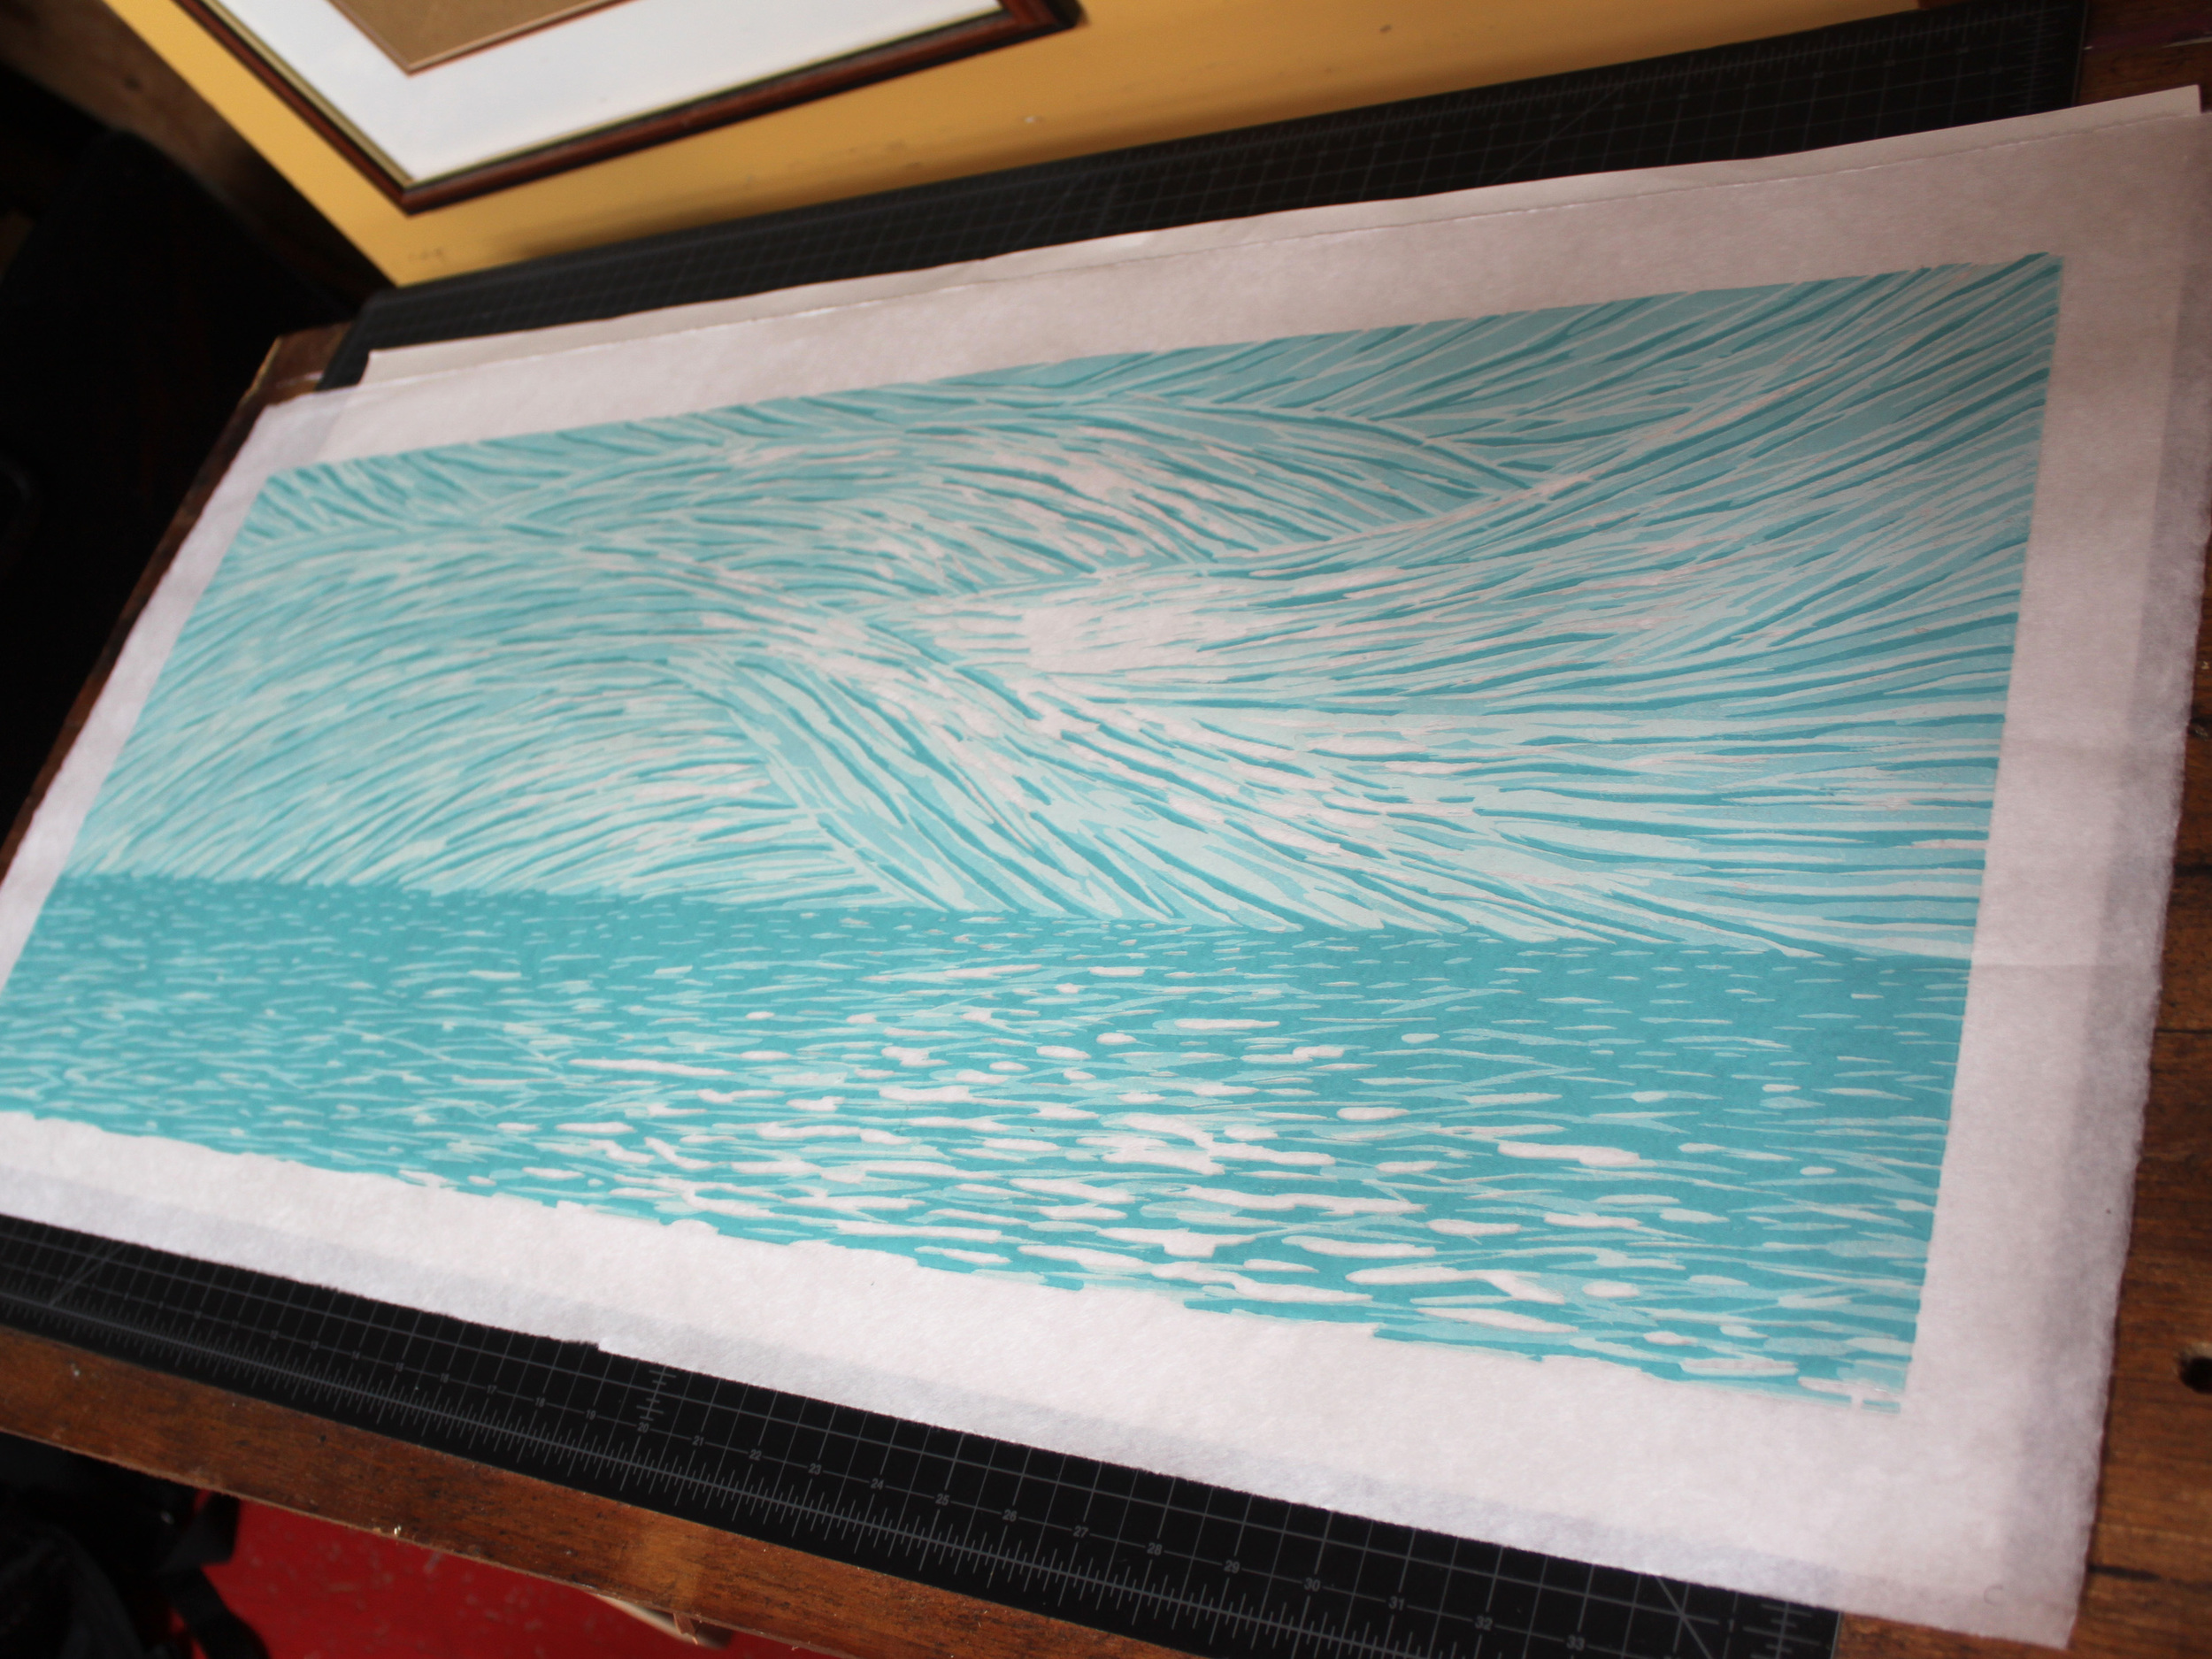
Final print on Japanese paper.
Edition of four.
Image: 36" x 14"
Paper: 40" x 19"